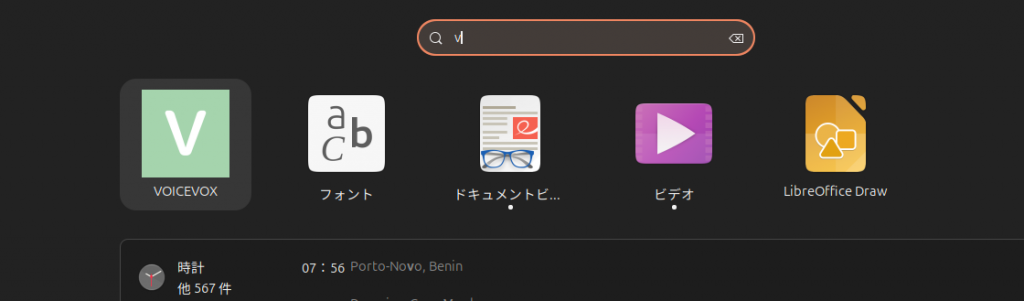
ttps://voicevox.hiroshiba.jp/product/aoyama_ryusei/
から、アプリをダウンロード
cd /home/ubuntu/ダウンロード/
./VOICEVOX.Installer.0.19.2.Linux.sh
bash: ./VOICEVOX.Installer.0.19.2.Linux.sh: 許可がありません
権限がないので、エラーになる
■権限を付与
chmod +x ./VOICEVOX.Installer.0.19.2.Linux.sh
./VOICEVOX.Installer.0.19.2.Linux.sh
+-+-+-+-+-+-+-+-+
|V|O|I|C|E|V|O|X|
+-+-+-+-+-+-+-+-+-+-+-+-+-+
|I|n|s|t|a|l|l|e|r|
+-+-+-+-+-+-+-+-+-+-+-+-+-+
|f|o|r| |L|i|n|u|x|
+-+-+-+-+-+-+-+-+-+
[+] Checking installer prerequisites…
[!] Command ‘7z’, ‘7zr’ or ‘7za’ not found
Required to extract compressed files
Ubuntu/Debian:
sudo apt install p7zip
■p7zipがない、支持に従い、インストール
sudo apt install p7zip
./VOICEVOX.Installer.0.19.2.Linux.sh
curl: (23) Failure writing output to destination
■curlが必要のようなので、インストール
sudo apt install curl
./VOICEVOX.Installer.0.19.2.Linux.sh
:
:
All done! VOICEVOX 0.19.2 has been installed under ‘/home/ubuntu/.voicevox’.
うまく行ったようである
ショートカットに追加して、起動してみる
アイコンをクリックしても起動しない
直接起動してみる
cd
./.voicevox/VOICEVOX.AppImage
やはり、だめ
ttps://github.com/VOICEVOX/voicevox/issues/2071
を、参考にして
■ 起動引数--no-sandbox
|
|
./.voicevox/VOICEVOX.AppImage --no-sandbox |
で、起動した
それでは、ショートカットを作ってみる
ttps://lunaris-code.com/pc/64/
を、参考に
Desktopは、カタカナなので
デスクトップで
cd
cd ~/デスクトップ
mkdir test-a/
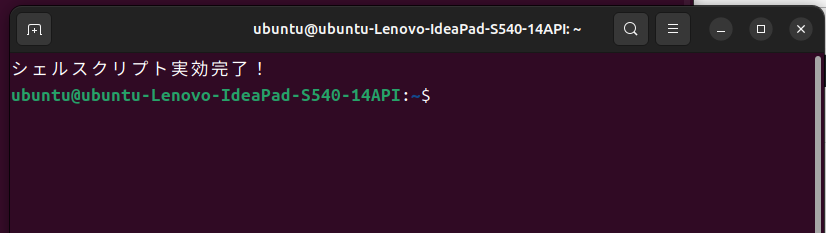
nano test-a/test-a.sh
gnome-terminal — bash -c “echo ‘シェルスクリプト実効完了!’; bash”
Ctr+OからEnter、書き込み Ctr+Xで終了
権限を付与
chmod 774 test-a/test-a.sh
nano test-a.desktop
(cd ~/デスクトップ にて)
以下を参考に
[Desktop Entry]
Encoding=UTF-8
Type=Application
Name=test-a
Exec=/home/{user}/Desktop/test-a/test-a.sh
Icon=/home/{user}/Desktop/icon.png
{user}
は、ubuntuで
Desktopのフォルダーがカタカナ
デスクトップなので、変更
以下を作成
[Desktop Entry]
Encoding=UTF-8
Type=Application
Name=test-a
Exec=/home/ubuntu/デスクトップ/test-a/test-a.sh
Icon=/home/ubuntu/デスクトップ/icon.png
Ctr+OからEnter、書き込み Ctr+Xで終了
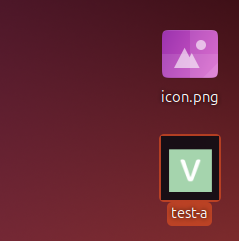
/home/ubuntu/デスクトップ/icon.png
を作成しておく
スクリーンショットで画像をコピーして
Gimpを開いて、
ファイル>画像生成>クリップボードから
ファイル>名前をつけて保存
/home/ubuntu/デスクトップ/icon.png
にて、保存
gio set test-a.desktop metadata::trusted true
chmod 774 test-a.desktop
デスクトップ画面上にある
test-a.desktop
をクリック(ダブルクリック)
画面が表示されたらOK
nano test-a/test-a.sh
にて
gnome-terminal — bash -c “echo ‘シェルスクリプト実効完了!’; bash”
を
./.voicevox/VOICEVOX.AppImage –no-sandbox
に、変更してみる
再度、Desktopのtest-aをダブルクリック
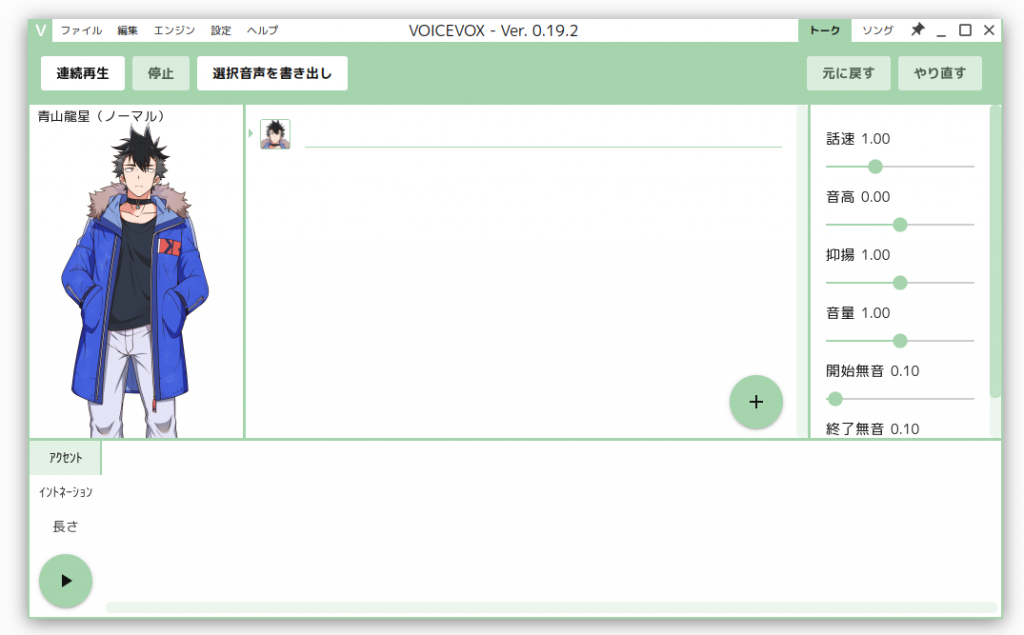
無事、Ubuntu 24.04で、VOICEVOXが起動した
test-aを、voicevoxに変更して
作り直してみよう