CRMとは、顧客管理システムですが、色々な業務に活用することができます。
無料でありながら、高機能なF-RevoCRMを立ち上げてみましょう。
参考ページ
ttps://f-revocrm.jp/2018/08/8273
https://www.youtube.com/watch?v=jzgLEwDyI8g
さくらVPSで、
CentOS 7 x86_64
CPU 1コア
メモリ 512 MB
ストレージ SSD 50 GB
さくらVPS
https://vps.sakura.ad.jp/
から入ります。
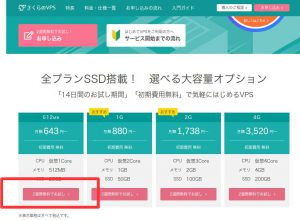
まず、1人で評価してみるために
一番、下のクラス
さくらVPSで、
CPU 1コア
メモリ 512 MB
ストレージ SSD 50 GB
にしてみます。
(現在は、2週間無料でお試しができるようです。)
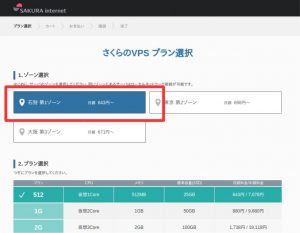
安い、「石狩第一ゾーン」を選択
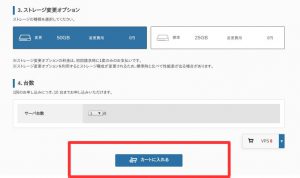
スクロールを下げ、カートに入れる
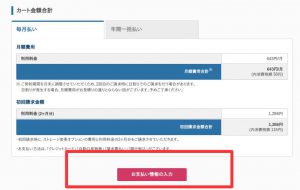
[お支払い情報の入力]ボタンを押下
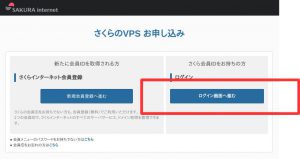
IDを持っているので
[ログイン画面へ進む]ボタンを押下
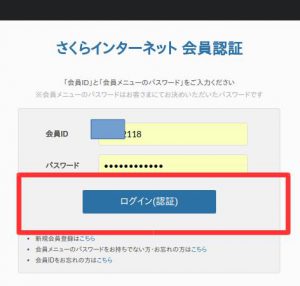
IDとパスワードを入力

クレジットカード情報を入力
2週間のお試しがあるので、失敗してやり直す時
あるいは、評価して、終了する時には費用請求はかからないようです。
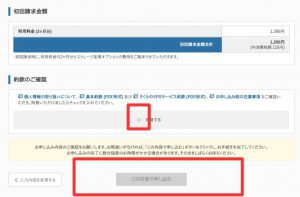
同意するで、[この内容で申し込む]をボタンを押下
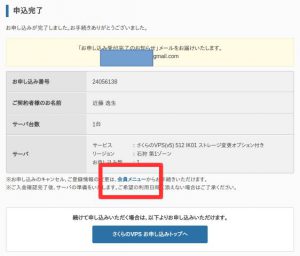
申し込みが完了したら
会員メニューに入る
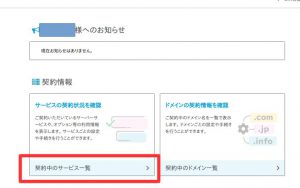
契約中のサービスを選択する
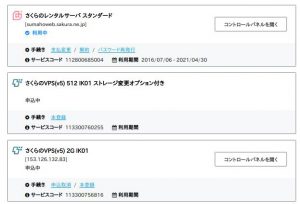
先ほど申し込んだ
512Mのメニューがあるが
まだ、コントロールパネルにはいけないようです
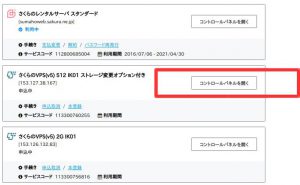
しばらく(2分程度)すると、
[コントロールパネルを開く]
のボタンが表示されるのでボタンを押下
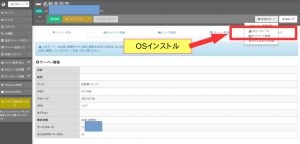
右上の歯車の各種設定を押すとブルダウンでOSインストールがでるので選択
(少しわかりにくい、見つけるのに苦労した。。。)
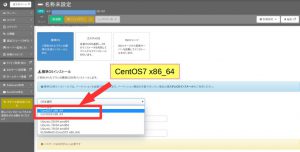
標準OSを選択し、OSをCentOS7 x86_64を選択する
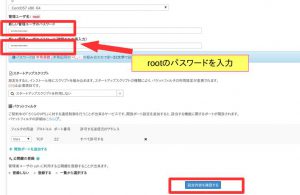
rootパスワードを入力する
CentOSのrootパスワードなのでssh、sftpで接続する時に必要になる
[設定を確認する]ボタンを押下
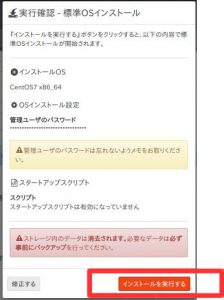
ポップアップの内容を確認して
[インストールを実行する]ボタンを押下
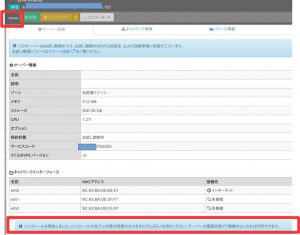
インストールが始まる
右上の所にインジケータがインストール中の状態になる
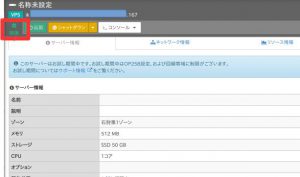
インストールが完了すると
右上の所が起動に変わる
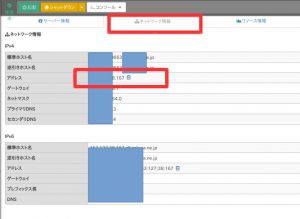
ネットワーク情報のタブを選択すると
接続するIPアドレスが分かる
以下、
xxx.xxx.xxx.xxx
として、説明する
端末からSSHにて接続をするために
端末より
ssh root@xxx.xxx.xxx.xxx
と入力する。
一番はじめだけ、確認が入るので
yes
と入力しCentOSを構築する時に
設定したパスワードを入力する
The authenticity of host 'xxx.xxx.xxx.xxx (xxx.xxx.xxx.xxx)' can't be established.
ECDSA key fingerprint is fe:6d:xx:a1:b9:85:xx:d0:xx:bb:ab:43:87:5b:96:xx.
Are you sure you want to continue connecting (yes/no)? yes
Warning: Permanently added 'xxx.xxx.xxx.xxx' (ECDSA) to the list of known hosts.
root@xxx.xxx.xxx.xxx's password:

SAKURA internet [Virtual Private Server SERVICE]

[root@-40663 ~]#
一番はじめだけ、確認が入るので
yes
と入力し
CentOSを構築する時に
設定したパスワードを入力する
rootに入る事ができた
以下、端末から操作を行う
cat /etc/redhat-release

CentOS Linux release 7.8.2003 (Core)

setenforce 0
CentOSは7.8.2003
との事
SELinuxを無効にする
Apache、PHP、MySQLのインストール
timedatectl set-timezone Asia/Tokyo
yum install http://rpms.famillecollet.com/enterprise/remi-release-7.rpm
yum update -y
yum install -y httpd unzip
yum install -y --enablerepo=remi --enablerepo=remi-php56 php php-gd php-mysqlnd php-imap php-mbstring php-devel php-mcrypt php-xml
yum install -y --enablerepo=remi --enablerepo=remi-php56 php-opcache
yum localinstall -y http://dev.mysql.com/get/mysql57-community-release-el6-7.noarch.rpm
yum-config-manager --disable mysql57-community
yum-config-manager --enable mysql56-community
yum -y install mysql-community-server
自動起動を設定する
systemctl enable httpd
systemctl enable mysqld
起動する
systemctl start mysqld
systemctl start httpd
Webより接続確認
http://xxx.xxx.xxx.xxx
接続できない
firewall-cmd --permanent --zone public --add-service http

FirewallD is not running
FirewallDが走っていない
systemctl status firewalld

● firewalld.service - firewalld - dynamic firewall daemon
   Loaded: loaded (/usr/lib/systemd/system/firewalld.service; disabled; vendor preset: enabled)
   Active: inactive (dead)
     Docs: man:firewalld(1)
Active: inactive (dead)
のよう
サービスを起動する
systemctl start firewalld.service
やはり表示しない
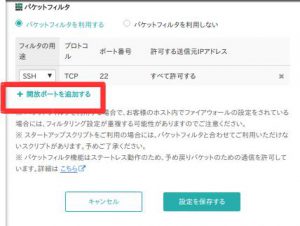
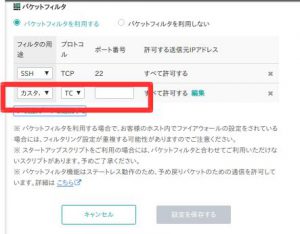
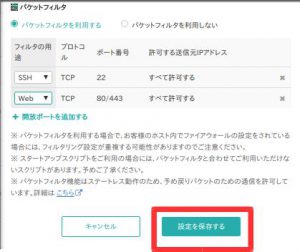
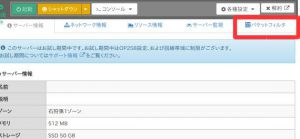
さくらVPSのコントロールパネルのパケットフィルタで
80を許可する
Webより接続確認
http://xxx.xxx.xxx.xxx
接続できた
sshが接続できなくなった
パケットフィルタは、追加にしないと行けない
22が塞がってしまた
22を開いたら、sshが繋がった
設定手順は以下となる
mysqlの設定を行う
cp /etc/my.cnf /etc/my.cnf.bak
vi /etc/my.cnf

文末へG
編集挿入モードi

character-set-server=utf8
sql_mode=NO_ENGINE_SUBSTITUTION
#default_authentication_plugin=mysql_native_password

[client]
default-character-set=utf8

格納終了esc:wq

systemctl restart mysqld
Apachの設定変更
cp /etc/httpd/conf/httpd.conf /etc/httpd/conf/httpd.conf.bak
vi /etc/httpd/conf/httpd.conf

文末へG
編集挿入モードi

ServerTokens Prod
Header set X-UA-Compatible "IE=9; IE=10; IE=11"
格納終了esc:wq

不要なのでリネーム
mv /etc/httpd/conf.d/autoindex.conf /etc/httpd/conf.d/autoindex.conf.disabled
mv /etc/httpd/conf.d/welcome.conf /etc/httpd/conf.d/welcome.conf.disabled
systemctl restart httpd
PHPの設定変更
cp /etc/php.ini /etc/php.ini.bak
vi /etc/php.ini

検索/date.timezone
date.timezone = Asia/Tokyo

検索/error_reporting
次検索n
次検索n
error_reporting = E_ALL

検索/post_max_size
post_max_size = 32M

検索/upload_max_filesize
upload_max_filesize = 32M

検索/max_input_vars
max_input_vars = 10000

検索/max_execution_time
max_execution_time = 3600

格納終了esc:wq

systemctl restart httpd
Mysqlのrootパスワードを設定する
Mysqlは、バージョンにより
扱いが違うのでまず、現状を調べてみる
mysql -u root -p
Enter password:
改行

入れた
exit
パスワード設定は
mysqladmin
で、できそう
mysqladmin -u root password 'new-password'
参考
https://weblabo.oscasierra.net/mysql-56-init-setup/
mysql -u root -p
Enter password:
改行

入れない

パスワード入力

入れた
rootのパスワード設定ができたようだ
アプリケーション用の
データベースを作成
mysql -u root -p
Enter password:


create database crm default character set utf8 collate utf8_general_ci;

exit
crmというデータベースを作成した
https://f-revocrm.jp/product-category/crm
から、frevocrm7.3.zipを入手
ローカルにダウンロードする
(f-revocrmのサイトで会員登録すると無料で入手でみます。)
ファイルをサーバへ転送を行う
ssh接続ができているので
sftpで行う
frevocrm7.3.zip
が、あるフォルダーに入るか
あるいは、sftpを走らす場所に
frevocrm7.3.zip
を、移動
sftp root@xxx.xxx.xxx.xxx
root@xxx.xxx.xxx.xxx's password:     rootのパスワードを入力
Connected to xxx.xxx.xxx.xxx.
sftp>put frevocrm7.3.zip
わかりにくいけど、端末からサーバへ転送するのは
put
になるんですね。
sshにて、転送されたか確認
ls

frevocrm7.3.zip
転送されたら、解凍をして、配置する
sshの端末から
unzip -od /var/www/html frevocrm7.3.zip
ls /var/www/html
mv /var/www/html/frevocrm /var/www/html/crm
ls /var/www/html
chown root:apache -R /var/www/html/crm
chmod 775 -R /var/www/html/crm
これで、サーバ側の設定はできたはずなので
プラウザから設定になる
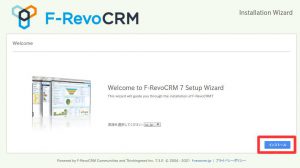
プラウザで画面を開く
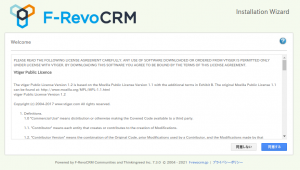
http://xxx.xxx.xxx.xxx/crm
[次へ]ボタンを押下
ホスト名:localhost
ユーザ名:root
パスワード:
データベース名:crm
パスワード:(admin用のパスワードを設定)
パスワード(確認):
姓:
メールアドレス:
を入力し
[次へ]を押下
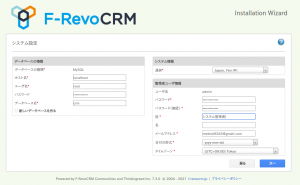
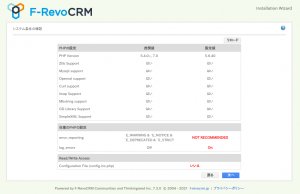
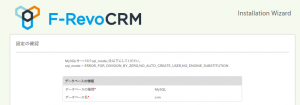
指摘が表示されたので
表示に従い修正
MySQLサーバの「sql_mode」を以下にしてください。
sql_mode = ERROR_FOR_DIVISION_BY_ZERO,NO_AUTO_CREATE_USER,NO_ENGINE_SUBSTITUTION
vi /etc/my.cnf
検索/sql_mode
編集i
sql_mode = ERROR_FOR_DIVISION_BY_ZERO,NO_AUTO_CREATE_USER,NO_ENGINE_SUBSTITUTION

格納終了esc:wq
再起動
systemctl restart mysqld
戻るバタンを押し
再度パスワードなどを入力し
[次へ]を押下
今度は指摘がないので
[次へ]を押下
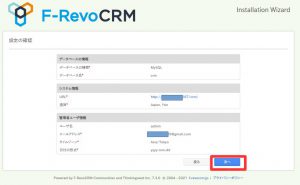
氏名とメールアドレスを入力し
[次へ]を押下
