|
1 2 3 4 5 6 7 8 9 10 11 12 13 14 15 16 17 18 19 20 21 22 23 24 |
VMware-Workstation-Full-25H2-24995812.x86_64.bundle を、ダウンロード sudo apt update sudo apt install -y build-essential gcc make perl dkms \ linux-headers-$(uname -r) mokutil cd ~/ダウンロード ls -l VMware* chmod +x VMware-Workstation-*.bundle ls -l VMware* sudo ./VMware-Workstation-*.bundle cd ~/ダウンロード ls -l VMware* chmod +x VMware-Workstation-Full-25H2-24995812.x86_64.bundle ls -l VMware* sudo ./VMware-Workstation-Full-25H2-24995812.x86_64.bundle |
月別アーカイブ: 2026年2月
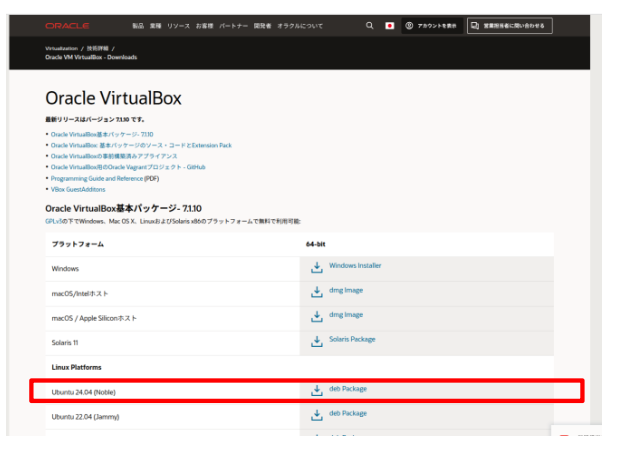
Ubuntu24.04にVirtualBoxをインストール
VirtualBoxのダウンロードページからdebファイルをダウンロード
|
1 2 |
https://www.oracle.com/jp/virtualization/technologies/vm/downloads/virtualbox-downloads.html |
|
1 2 3 4 5 |
ダウンロードしたdebファイルをインストール sudo apt install /home/ubuntu/ダウンロード/virtualbox-7.1_7.1.10-169112~Ubuntu~noble_amd64.deb |
無事完了すれば、起動可能となります
エラーが出て、カーネルが未対応とのことだった
カーネルは 6.17 で、未対応。
カーネルは 6.14 に切り替えてみた
原因ははっきりしました。
現在入っているカーネルは:
- 6.17.0-14(現在起動中)
- 6.14.0-37
6.8はもうありません。
つまり、
- 以前:6.8系でVirtualBox動作
- VMware導入 → カーネル更新
- 6.14 → 6.17へ
- 6.17でVirtualBoxビルド失敗
という流れです。
🔎 重要ポイント
VirtualBox 7.1.10 は
6.17カーネル未対応
ログの:
|
1 2 |
implicit declaration of function ‘from_timer’ |
がそれを証明しています。
6.14はまだ6.17ほど新しくないため、
VirtualBoxが動く可能性があります。
手順
- 再起動
- GRUB表示(ShiftまたはEsc)
- Advanced options for Ubuntu
- 6.14.0-37-generic を選択
- 起動後確認:
|
1 2 |
uname -r |
- その後:
|
1 2 |
sudo /sbin/vboxconfig |
これで、起動できるようになった
OpenClaw(Clawdbot)を、Ubuntuにインストール
OpenClaw(Clawdbot)を、Ubuntu24.04にインストールしてみました
|
1 2 3 4 5 6 7 8 9 10 11 12 13 14 15 16 17 18 19 20 21 22 23 24 25 |
sudo apt update sudo apt install -y curl ca-certificates curl -fsSL https://deb.nodesource.com/setup_24.x | sudo -E bash - sudo apt install -y nodejs /usr/bin/node -v /usr/bin/npm -v git --version sudo apt install git -y mkdir -p ~/.npm-global npm config set prefix "$HOME/.npm-global" echo 'export PATH="$HOME/.npm-global/bin:$PATH"' >> ~/.bashrc source ~/.bashrc npm config get prefix npm install -g clawdbot@latest clawdbot --help |
で、説明がでれば、設定完了
Discordの設定を行うために、Tokenを取得する
Discordのアカウントを、既にあるものとして
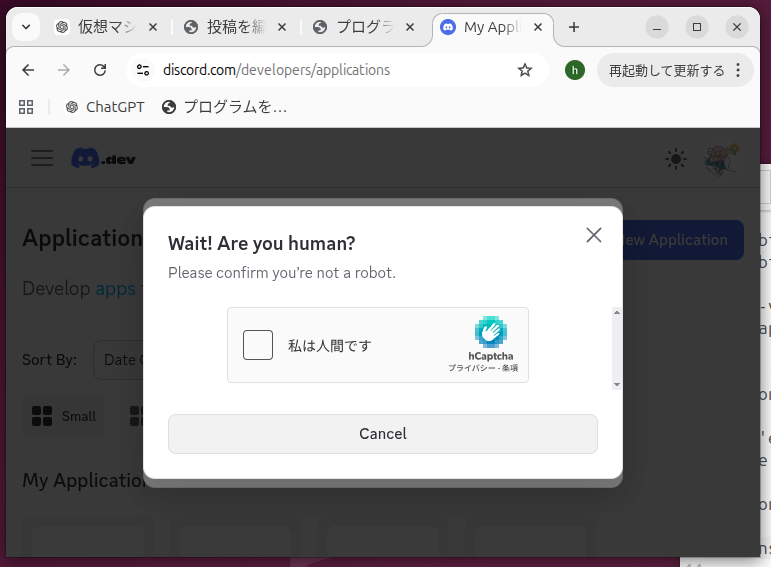
以下よりBotを作成します。
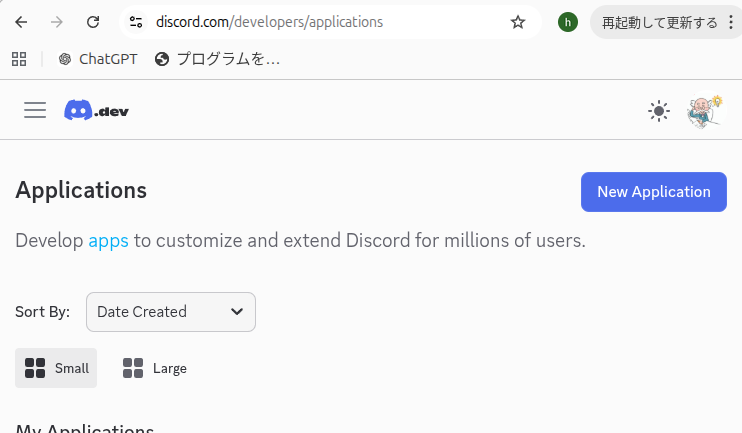
ttps://discord.com/developers/applications
clawdbot –help

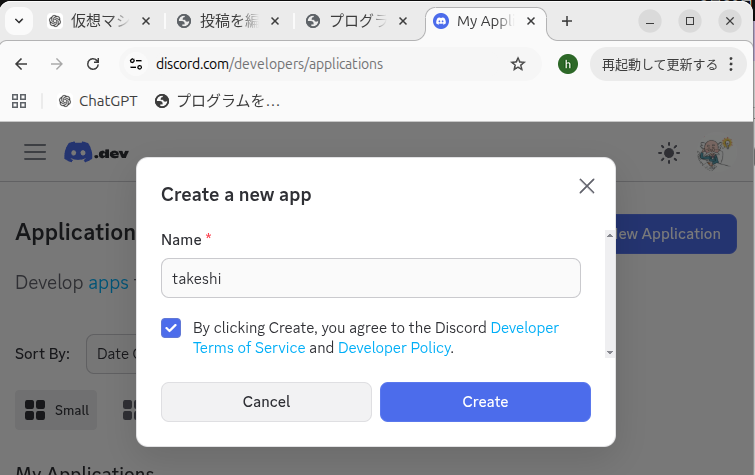
右上の「アプリケーションを作成」
clawdbot –help
Bot名を設定して
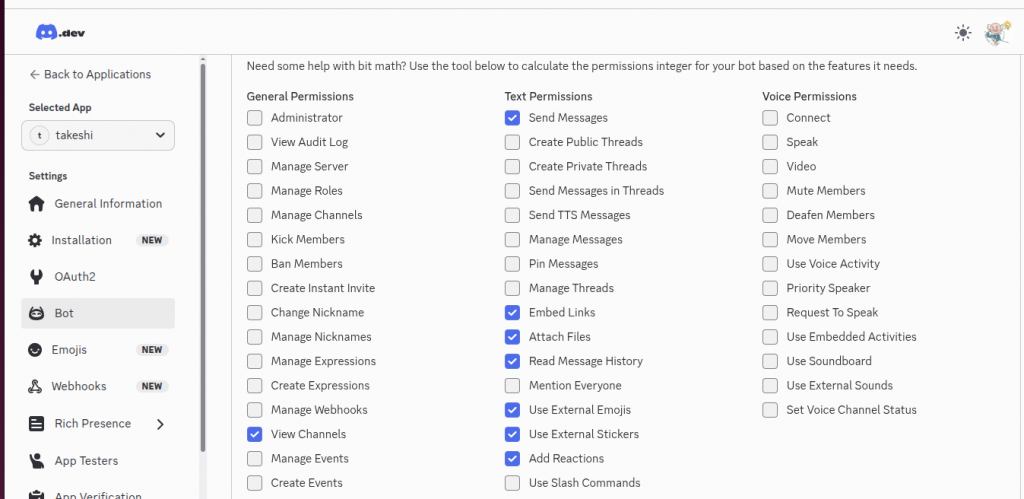
View Channels
Send Messages
Read Message History
Embed Links
Attach Files
Add Reactions
Use External Emojis
Use External Stickers
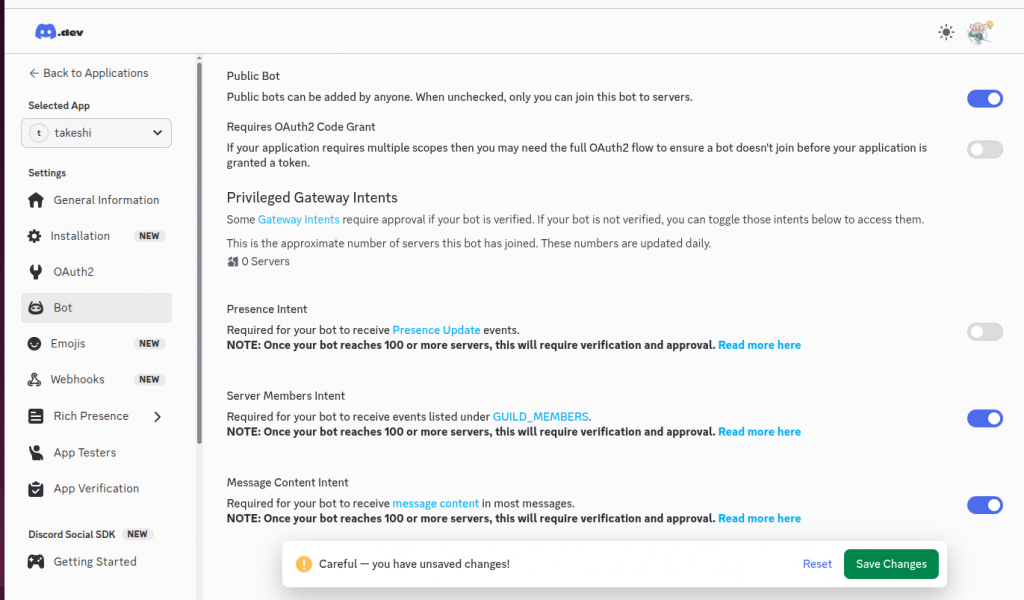
に、チェックを入れる
Server Members Intent
Message Content Intent
を、有効にしてして保存する
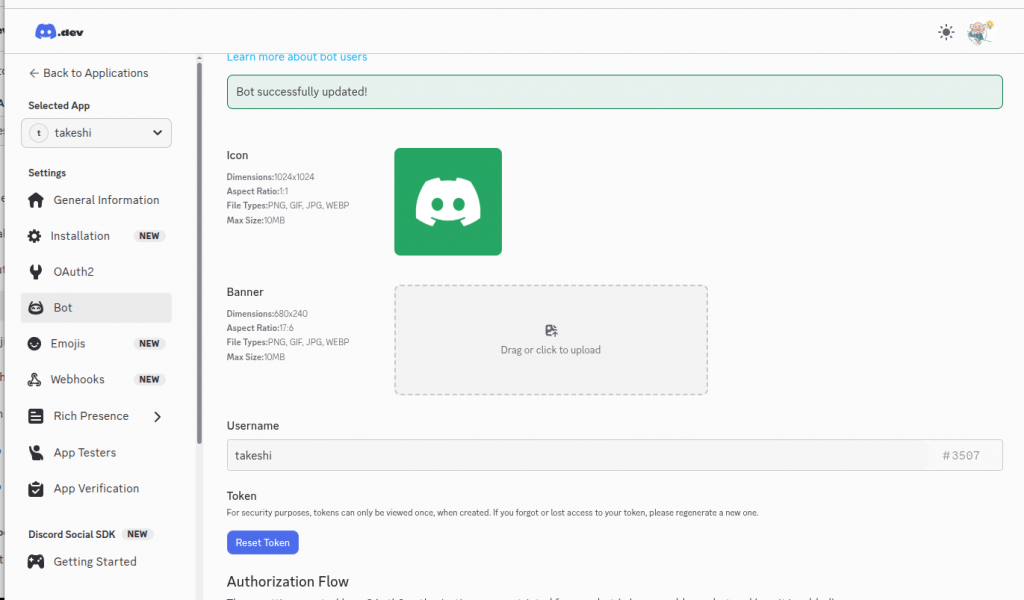
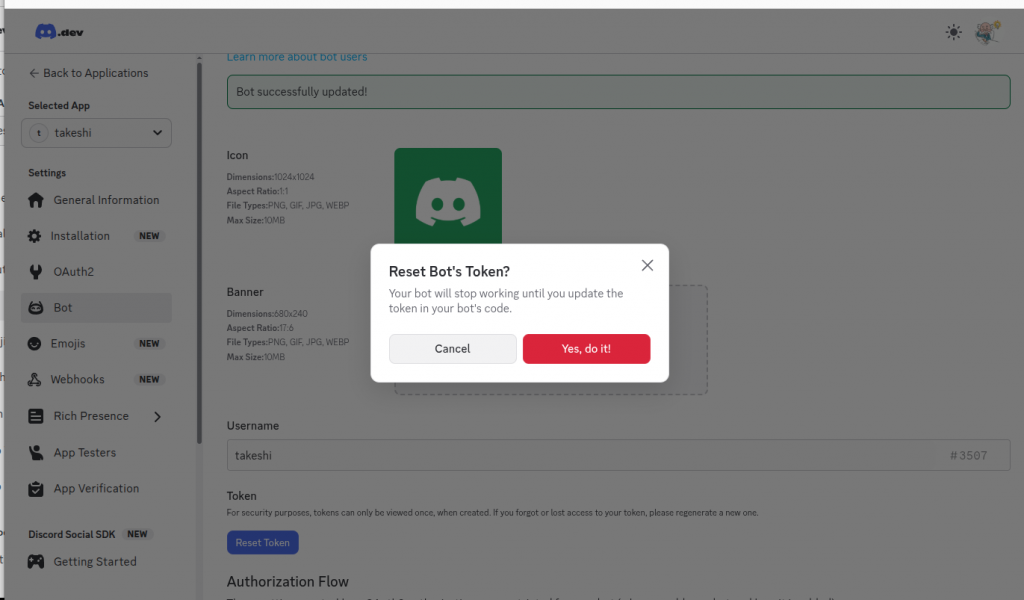
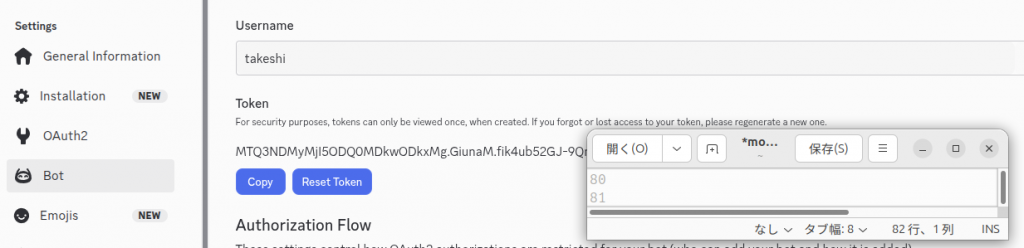
Tokenの作成をして
Tokenをメモに貼り付ける
(漏らなさい用に注意)
clawdbot onboard
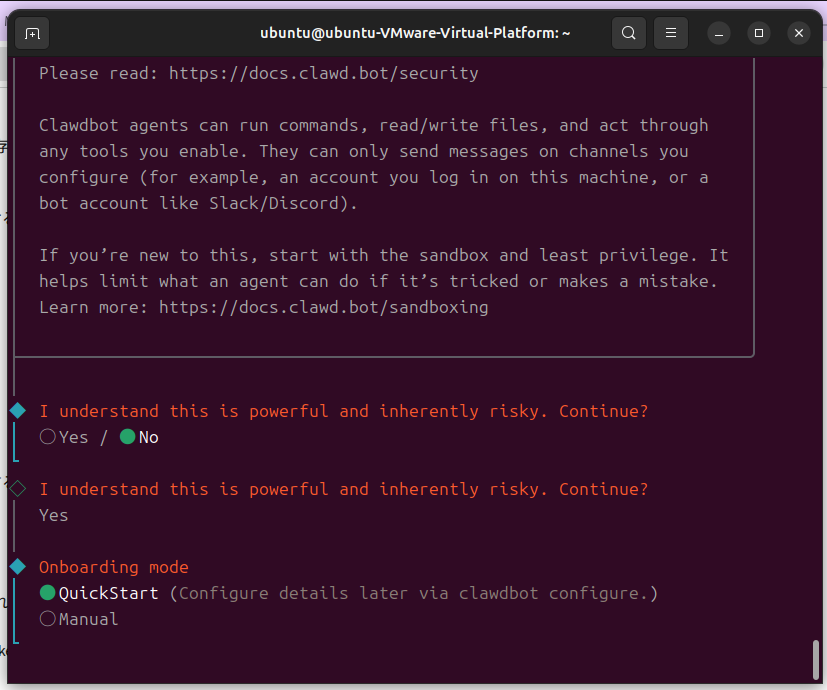
にて、設定を行う
Antigravityを選択し
Discordを選択して
先程の、Tokenを入力する
ブラウザより
http://127.0.0.1:18789
により、管理画面に入れるが
ttp://127.0.0.1:18789/?token=8d2621b6007ec8XXXXXX
により、tokenを、指定するとみれるようになる
tokenは
cat ./clawdbot .json
にある、データを指定する
Chatで入力すると、エラーになる
Anitgravityの指定を
1.11.5 → 1.18.5
|
1 2 3 4 5 6 7 8 9 10 11 12 13 14 15 16 |
grep -RIn --include=".js" --include=".cjs" --include="*.mjs" "antigravity/" . grep -RIn "antigravity/1.11.5" "$(npm root -g)" 2>/dev/null cp ~/.npm-global/lib/node_modules/clawdbot/node_modules/@mariozechner/pi-ai/dist/providers/google-gemini-cli.js \ ~/.npm-global/lib/node_modules/clawdbot/node_modules/@mariozechner/pi-ai/dist/providers/google-gemini-cli.js.bak.$(date +%F_%H%M%S) sed -i 's/antigravity\/1.11.5/antigravity\/1.18.5/g' \ ~/.npm-global/lib/node_modules/clawdbot/node_modules/@mariozechner/pi-ai/dist/providers/google-gemini-cli.js clawdbot gateway stop clawdbot gateway |
に、変更すると良いようである
grep -RIn –include=”.js” –include=”.cjs” –include=”*.mjs” “antigravity/” .
grep -RIn “antigravity/1.11.5” “$(npm root -g)” 2>/dev/null
にて、検索して
一応、バックアップを取り
cp ~/.npm-global/lib/node_modules/clawdbot/node_modules/@mariozechner/pi-ai/dist/providers/google-gemini-cli.js \
~/.npm-global/lib/node_modules/clawdbot/node_modules/@mariozechner/pi-ai/dist/providers/google-gemini-cli.js.bak.$(date +%F_%H%M%S)
変更する(1.11.5 → 1.18.5)
sed -i ‘s/antigravity\/1.11.5/antigravity\/1.18.5/g’ \
~/.npm-global/lib/node_modules/clawdbot/node_modules/@mariozechner/pi-ai/dist/providers/google-gemini-cli.js
エディタを使って、変更してもいい
nona xxxxxx
再起動
clawdbot gateway stop
clawdbot gateway
Webのチャットで、回答がくるか、確認を行う
チャットで繋がったら、
Discordから呼んでみる
https://discord.com/developers/applications
で、作ったBotを選択して
BotのTabにて
View Channels
Send Messages
Read Message History
Embed Links
Attach Files
Add Reactions
Use External Emojis
Use External Stickers
を、チェックして
一番したのURLを
ブラウザに貼り付けると
Botの連携の画面になる
Passwordをもとめられるが
これは、Discordのアカウントのパスワード
チャンネルに登録されたた
@(bot名)
で、呼びかけると答えてくれるようになる
Antigraviryのたくさん使うと
制限がかかって、使えなくなるようである
cooldownなどのメッセージ
有料版のGoogleアカウントだと
長く使えるが、制限がよくわからない
制限がかかった
その場合には、
clawdbot onbord
にて、AIを別なものに切れかえてみる
私は
OpenRouterに切り替えてみた
当然の事、使うと、チャージしたクレジットが減っていく
Aiを切り替えると
それまでの話し方と変わってしまう
やはり、頭脳を切り替えると
過去の記憶(Log)はあるが
考え方、話し方がかわるようである
他の無料のAIで、何処まで使えるか
もう少し、調べてみたい。