以下の内容で、インストール
sudo apt update && sudo apt upgrade -y
sudo apt install filezilla -y
参照: ttps://arkgame.com/2022/06/06/post-308799/
以下の内容で、インストール
sudo apt update && sudo apt upgrade -y
sudo apt install filezilla -y
参照: ttps://arkgame.com/2022/06/06/post-308799/
|
1 |
Ubuntu 22.04のPCで、電子書籍のKindleを作成してみる事にする<br><br>まずは、以下にてCalibreをインストール<br><br>sudo -v && wget -nv -O- https://download.calibre-ebook.com/linux-installer.sh | sudo sh /dev/stdin<br><br><br><br> |
Lenovo S540にUbuntu22.04をインストール
インストール用USBを準備して
「Fn2」を連打して電源を起動することで
BIOSが起動
使用する起動メディアによっては、Secure Boot を無効にする必要があります。
Secure Bootの設定は、
「Security 」タブ
Secure Bootを、Disabled
に変更して
「Exit」タブ
Exit Saving Changes
一度、電源を入れ直し
「Fn2」を連打して電源を起動することで
再度、BIOSを起動
「Boot」タブ
EFI
の項目で、USBをF6で上位に変更
「Exit」タブ
Exit Saving Changes
無事USBで、起動した
ubuntu22.04 Zoomリモートができない
Wayland has not been supported yet
といエラーで、ZOOMによる遠隔ができない
sudo nano /etc/gdm3/custom.conf
にて、
WaylandEnable=false
の注釈を外し、OSを再起動するこで
解決した
参考
ttps://askubuntu.com/questions/1407494/screen-share-not-working-in-ubuntu-22-04-in-all-platforms-zoom-teams-google-m
MakeでX-serveのメールアカウントからメール配信をした所
The operation failed with an error. Can’t send mail – all recipients were rejected: 554
なる、エラーがでた
X-serverが、海外サイトからのアクセスを禁止しているため発生していた
SMTP認証の国外アクセス制限設定
を、無効にした所
無事、送信ができた
BIOSがF12,Fn+F2で起動できないので
https://pcsupport.lenovo.com/us/ja/products/laptops-and-netbooks/yoga-series/yoga-720-12ikb/solutions/ht500216-recommended-way-to-enter-bios-ideapad
を、参考に行った
ubuntu 20.04にX-mind8をインストールしてみた
以前、libwebkitgtk-1.0-0が
インストール出来ずに、挫折し
snapにてインストールしたが
やはり、X-mind8という事で
再度挑戦してみました
https://jp.xmind.net/download/xmind8
より、ダウンロードし
解凍して、フォルダーにて
sudo ./setup.sh
にて、インストール
libwebkitgtk-1.0-0
なないといっておこられるため
sudo nano /etc/apt/sources.list
deb http://cz.archive.ubuntu.com/ubuntu bionic main universe
を、追加して
sudo apt-get update
そして
sudo apt-get install libwebkitgtk-1.0-0
にて、再度
sudo ./setup.sh
にて、インストールできた
その後、設定により無事、インストールできた
参考にしたのは
https://stackoverflow.com/questions/62301866/how-to-install-the-libwebkitgtk-package-on-ubuntu-20-04-lts
https://qiita.com/ocean_f/items/21c86c2f2fb97f5d27c0
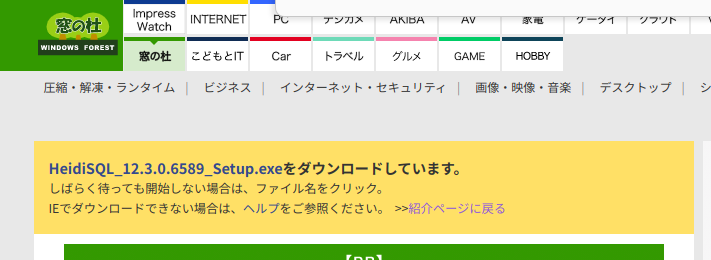
exeをダウンロード
ttps://forest.watch.impress.co.jp/library/software/heidisql/download_11208.html
から、
HeidiSQL_12.3.0.6589_Setup.exe
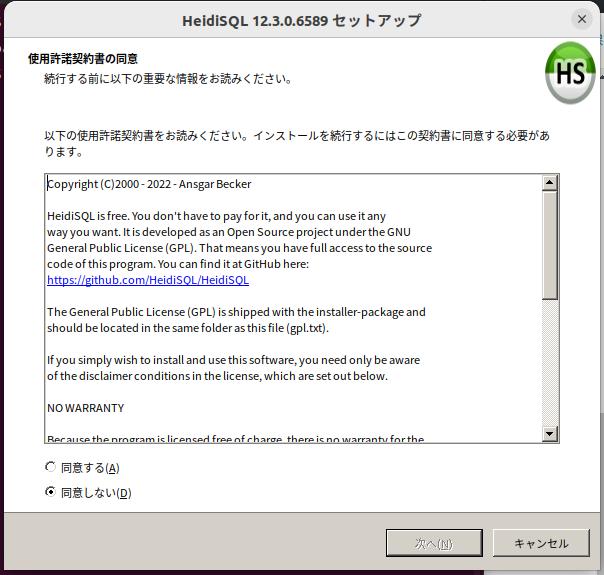
端末
から、wineをインストール
$ sudo apt install wine
$wine –version
wine-6.0.3 (Ubuntu 6.0.3~repack-1)
$ wine HeidiSQL_12.3.0.6589_Setup.exe
起動できた
https://developers.activecampaign.com/reference/get-contact
https://developers.activecampaign.com/reference/create-contact-tag
を、参考にしてCurlで接続してみた
curl -v -H “Accept: application/json” \
-H “Content-type: application/json” \
-H “API-Token: xxxxxxxxxxxxxxxxxxxxxxxxxxx287123dc”\
-X GET \
https://{youraccountname}.api-us1.com/api/3/accounts/1
curl –http1.1 -v -H “Accept: application/json” \
-H “Content-type: application/json” \
-H “API-Token: xxxxxxxxxxxxxxxxxxxxxxxxxxxx287123dc”\
-X POST \
-d ‘{“contactTag”:{“contact”: 1,”tag”: 2 } }’ \
https://{youraccountname}.api-us1.com/api/3/contactTags
Crulで、検証できると、とても解りやすい
ActiveCampaignを外部連携するために、APIを使ってみた
$cat /etc/issue
Ubuntu 20.04.5 LTS

cd
# トップに戻って
python -V Python 3.8.10
#バージョンは 3.8.10

#作業エリアをactcmpとして
mkdir actcmp
cd actcmp

python -m venv env
#仮想環境を作り

source env/bin/activate

#ライブラリィーをインストール

pip install activecampaign-python
ファイルを作って
from activecampaign.client import Client
client = Client(URL, API_KEY)
response = client.contacts.list_all_contacts(email="johndoe@example.com")
sample.py