X-server で、F-RevoCRM7.3を立ち上げてみました
■新規のX-serverのアカウントを作る
https://www.xserver.ne.jp/
から
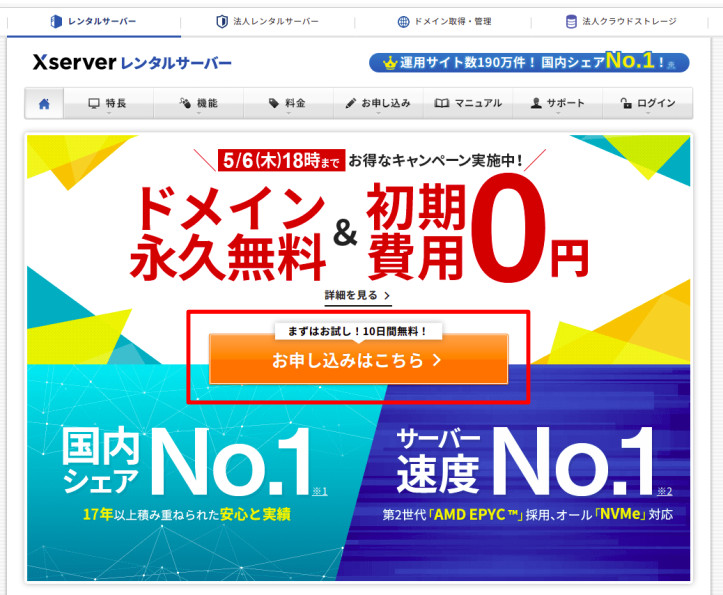
[お申し込みはこちら]を押下
10日間は無料のようです。
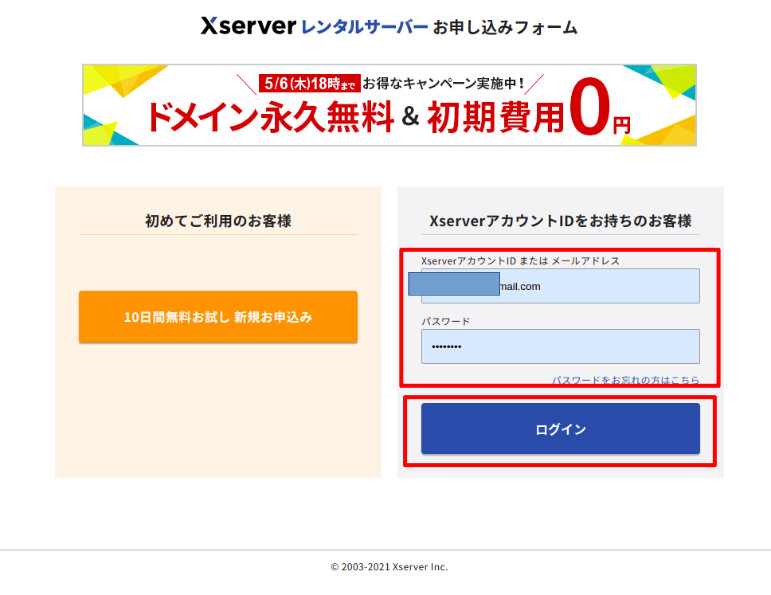
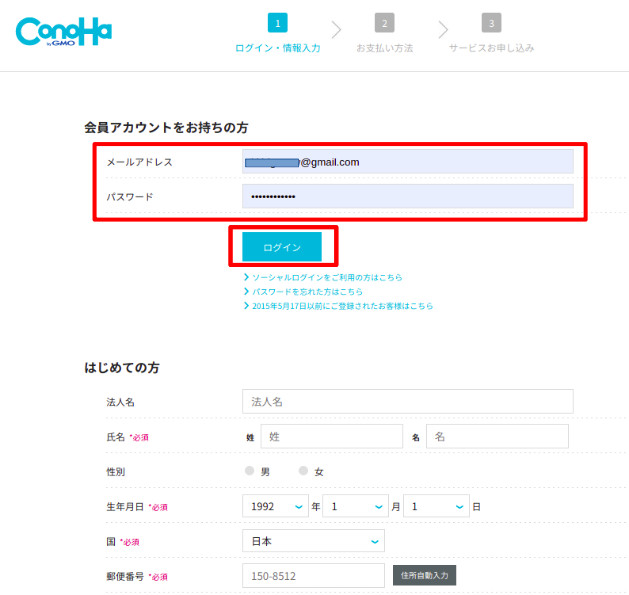
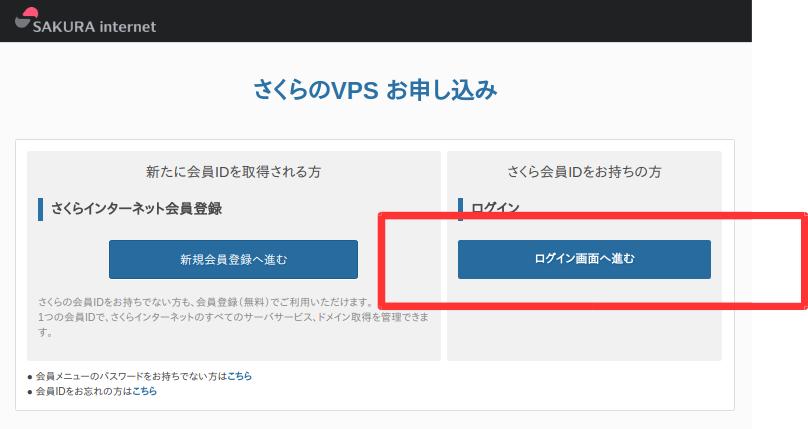
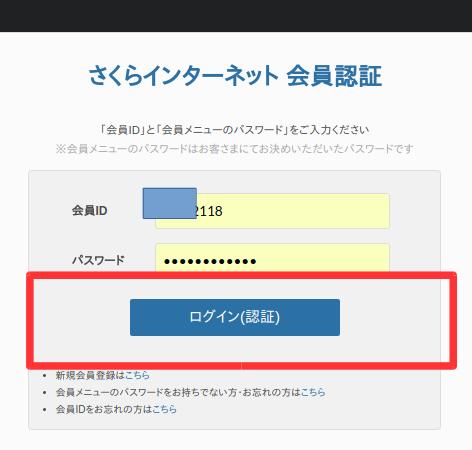
会員の人は
メールアドレスとパスワードを入力して
[ログイン]を押下
(はじめての人は、会員登録を行って下さい)

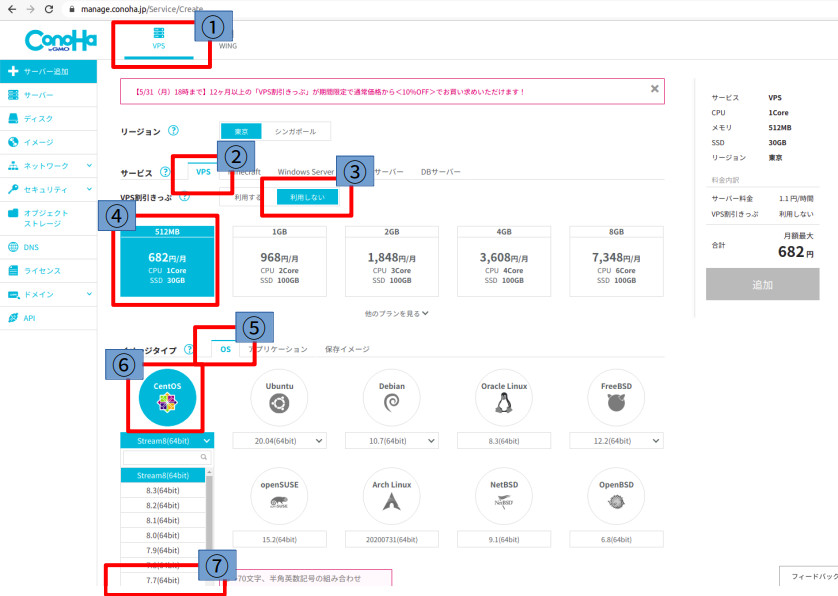
1,サーバIDを設定釦を押し、サーバIDを変更できるようにする
2,好みのサーバIDを入力する(例:crm01にしてみる)
3,X10を指定
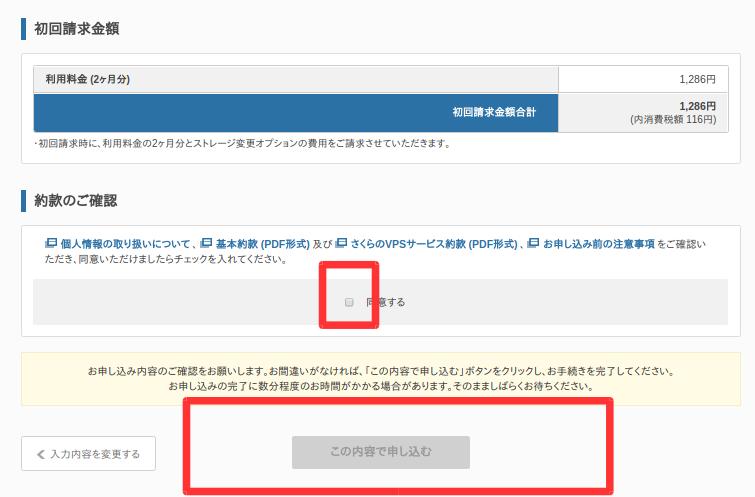
4,利用規約をチェック
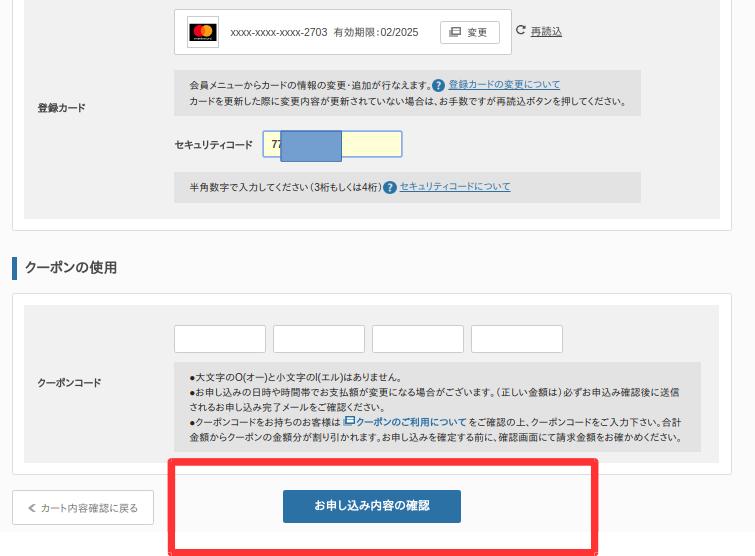
5,[お申し込み内容を確認する]を押下
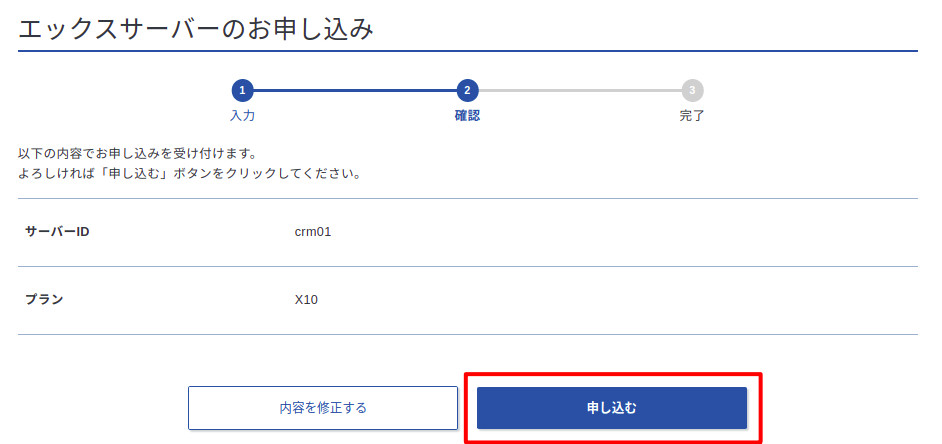
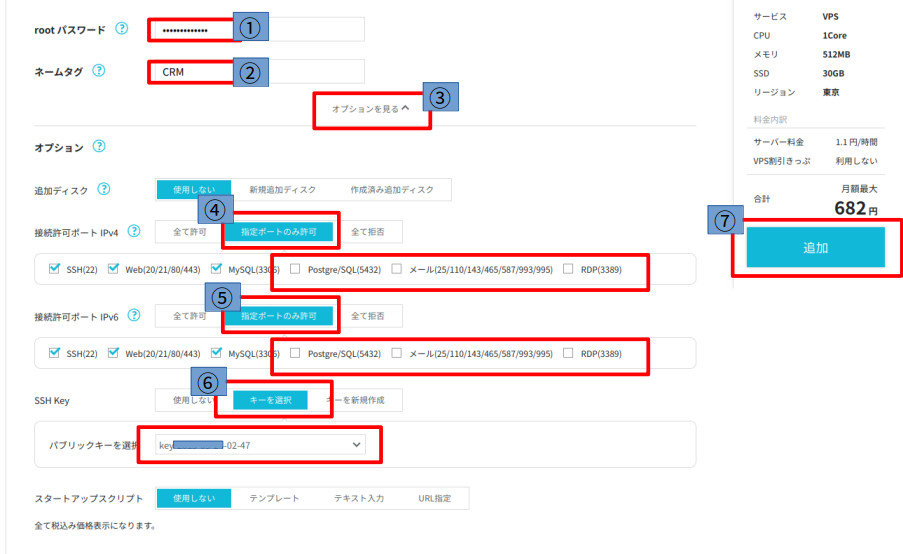
内容を確認して
[申し込む]を押下
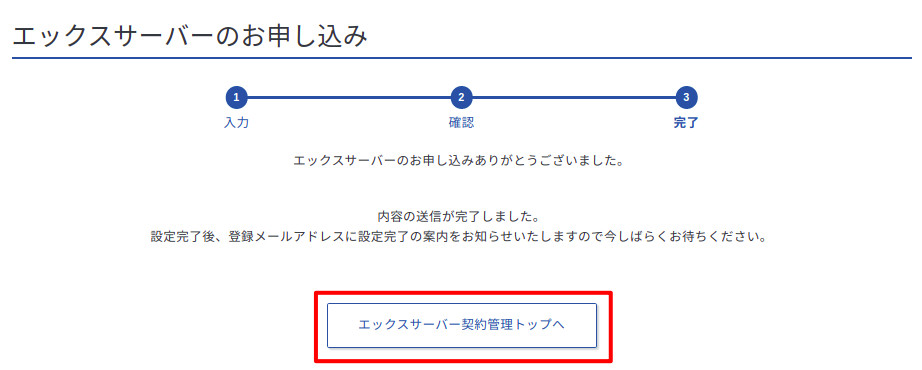
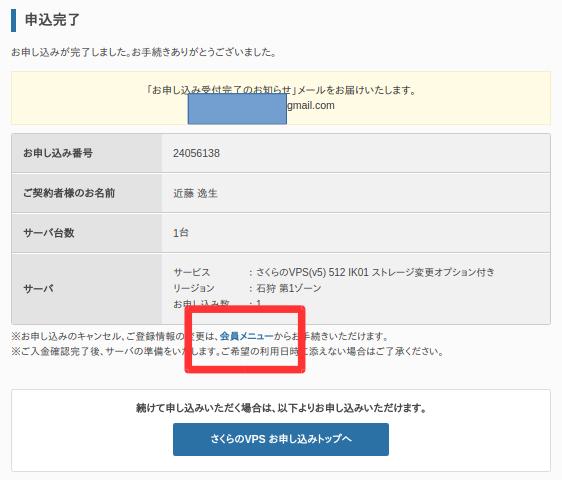
[エックスサーバー契約管理トップへ]を押下

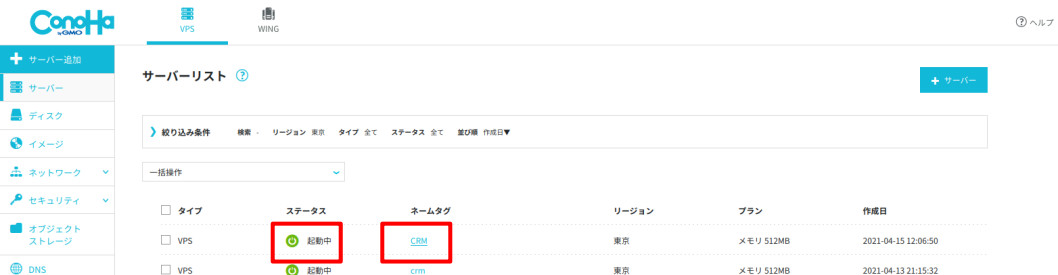
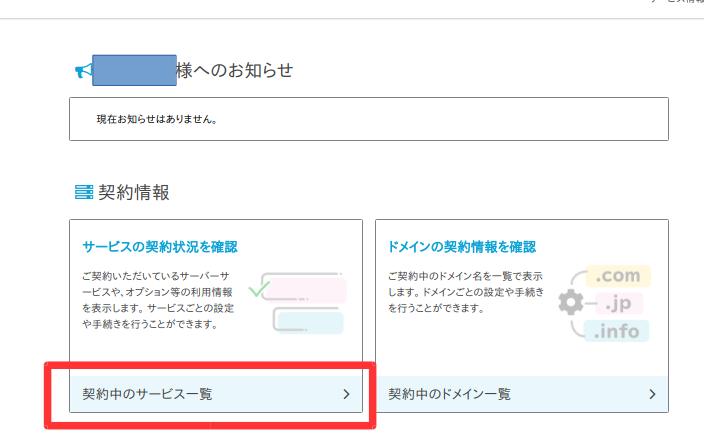
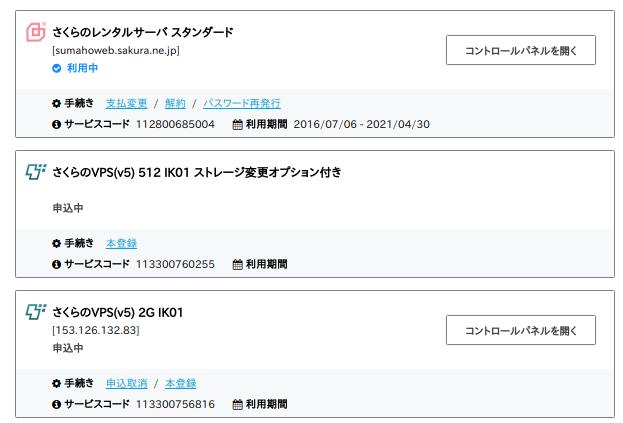
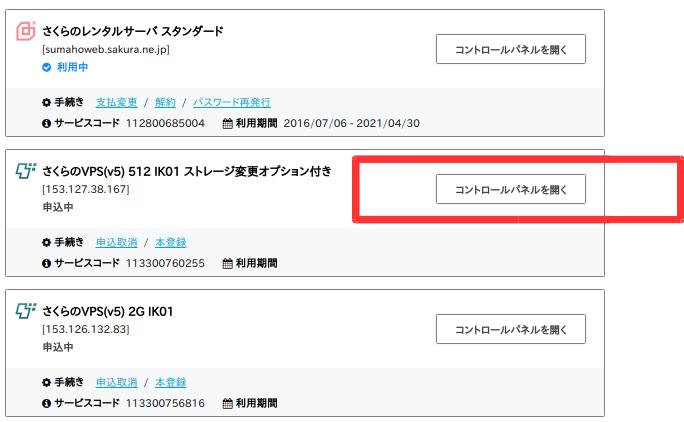
サーバー一覧が表示されるので
新規に作ったサーバー(crm01)の
[サーバー管理]を押下
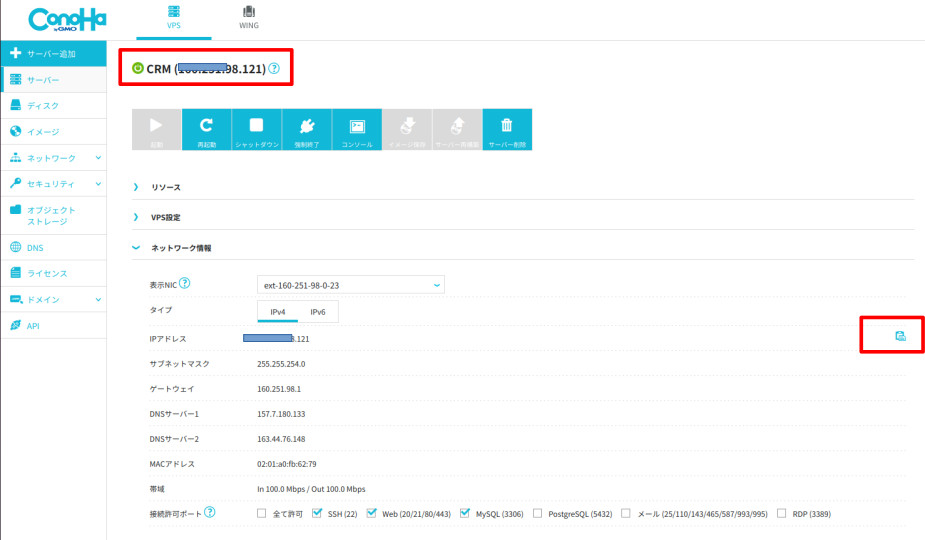
サーバーパネルが表示されるので
以下、サーバ側の設定を行う
■ 端末から操作するためSSH接続できるようにする
(SSH接続せず、ローカルでZIP展開して配置でもできるが、色々操作できるので、SSH接続しておく)
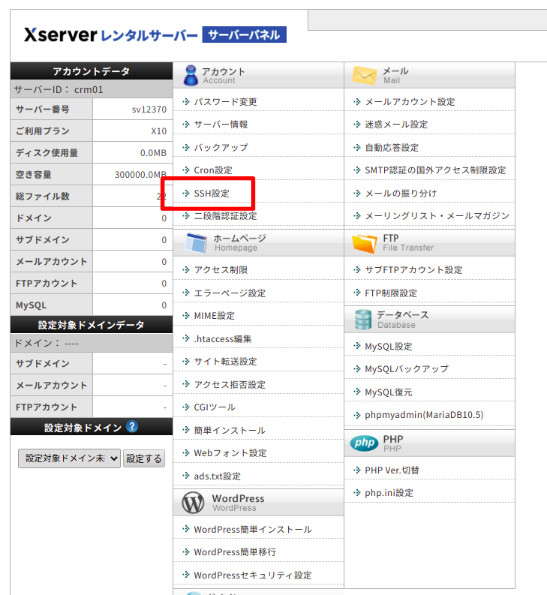
サーバーパネルの
[SSH設定]を押下

SSHの設定タブの
ONにするを選択し
[設定する]を押下
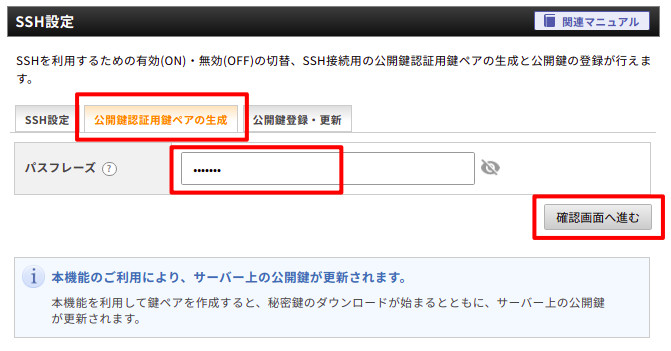
パスフレーズは、SSH接続の時に毎回聞かれるので
忘れないようにメモして置くように
(crm2021としてみた)
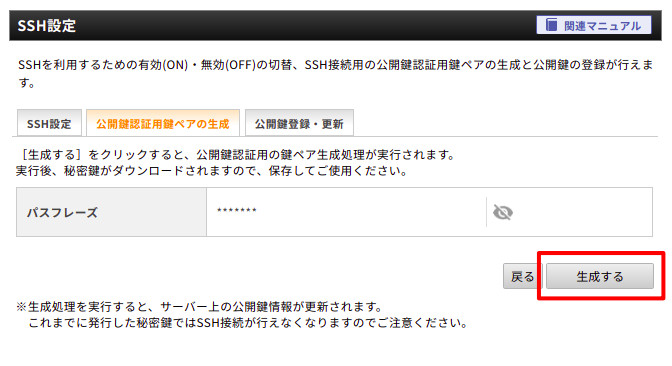
[生成する]を押下
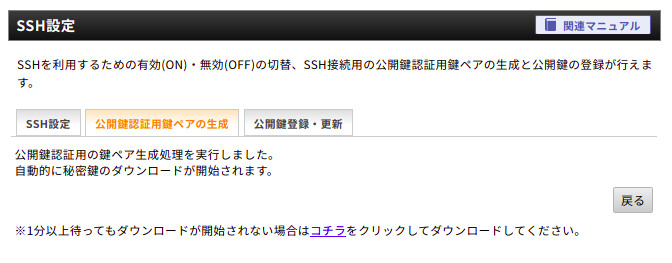
秘密鍵が生成され
crm01.key
が、ダウンロードされる
接続を確認する
端末を開き
ダウンロードしたファイルを見る
属性を600に変更する
$ ls -la crm01.key
-rw-rw-r-- 1 1766  4月 16 13:02 crm01.key
$ chmod 600 crm01.key
$ ls -la crm01.key
-rw------- 1  1766  4月 16 13:02 crm01.key
$
sshで
秘密鍵を指定して接続してみる
ssh サーバーID@サーバーID.xsrv.jp -i 秘密鍵ファイル名 -p 10022
なので
サーバーIDがcrm01
秘密鍵ファイル名がcrm01.key
ssh crm01@crm01.xsrv.jp -i crm01.key -p 10022
$ ssh crm01@crm01.xsrv.jp -i crm01.key -p 10022
Enter passphrase for key 'crm01.key':
[crm01@sv12370 ~]$
パスフレーズを聞いてくるので、設定したパスフレーズ(crm2021)を
入力すると無事入れた
パスフレーズは毎回聞かれるので
忘れないように
■ PHPを確認する
phpのバージョンを調べる
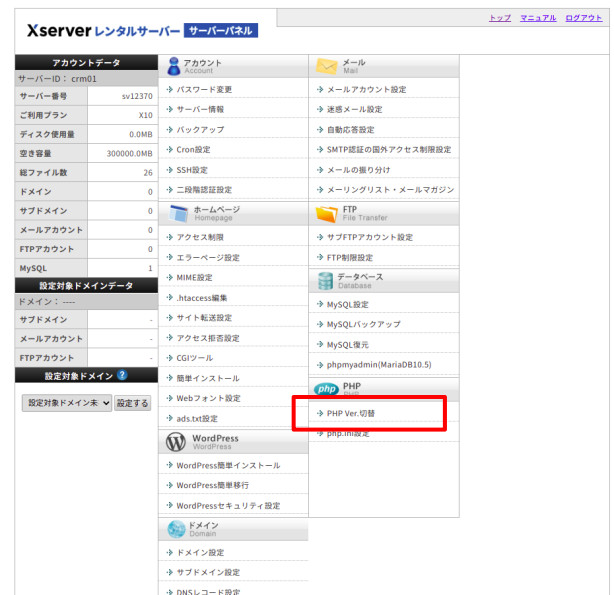
サーバーパネルの
[PHP Ver.切替]を押下

ドメイン名が一つなので、そのまま
[選択する]を押下
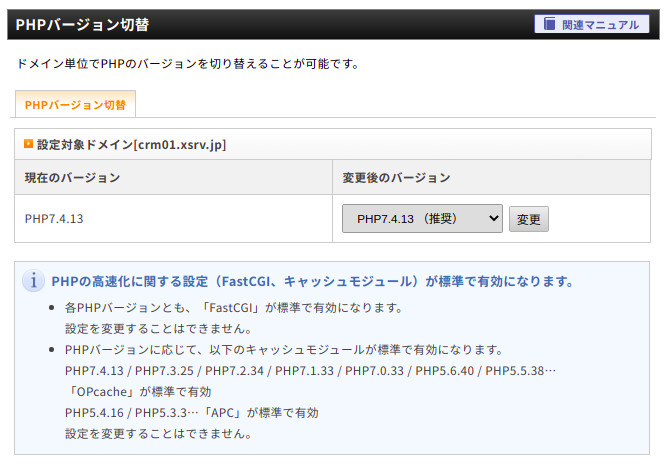
現在は、PHP 7.4.13のようである
■ データベースを設定する
次に、F-RevoCRMで使用する
データベースとデータベースアカウントとデータベースパスワードの設定を行う
データベース名:crm01_crmdb
アカウント名:crm01_crmuser
パスワード:crmpass2021
とする
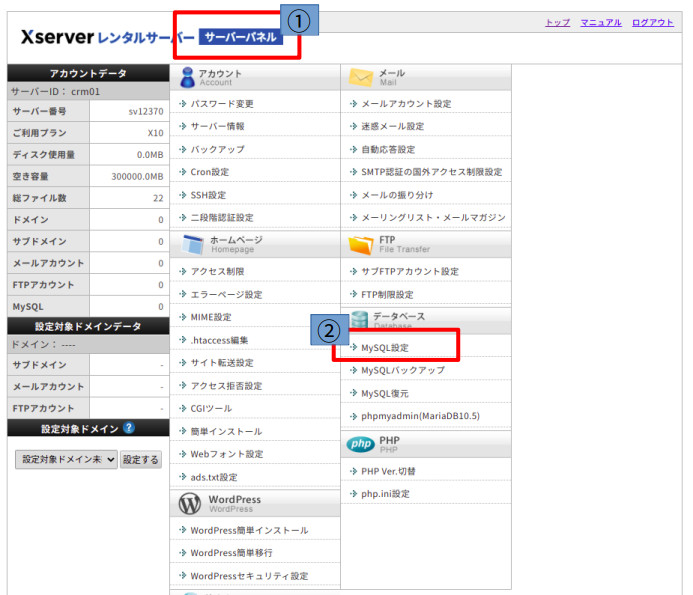
サーバーパネルの
[Mysql設定]を押下
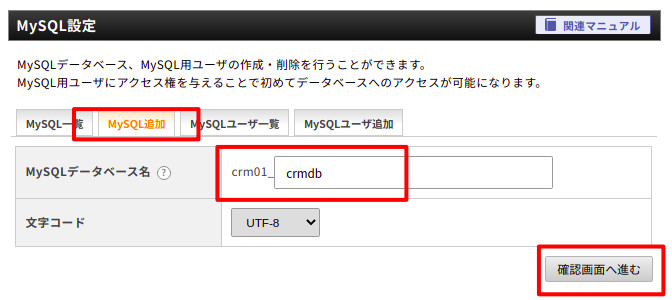
Mysql追加タブを選択して
データベース名にcrmdb
を入力し
[確認画面へ進む]を押下
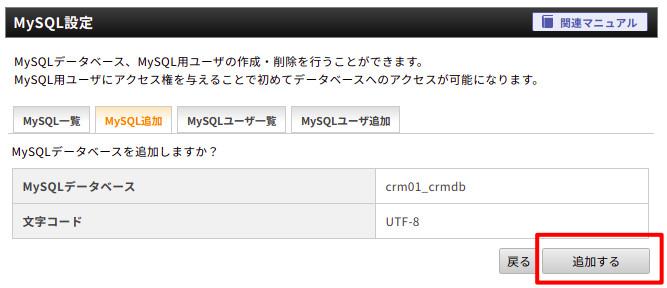
内容を確認して
[追加する]を押下
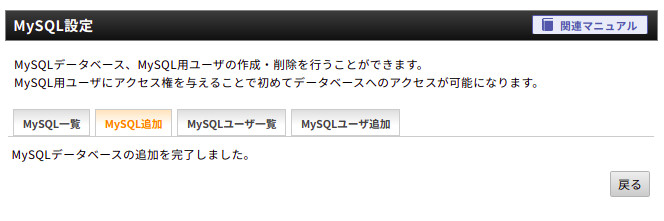
追加を確認する
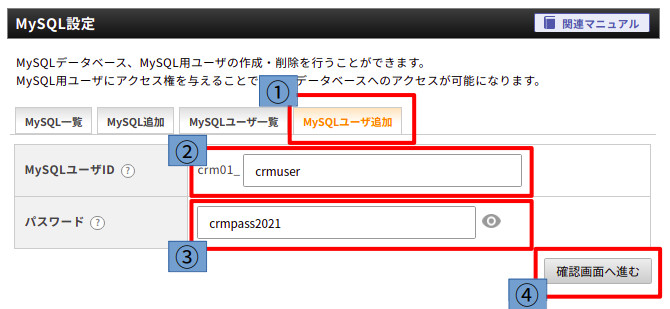
1,MySQLユーザタブを選択し
2,MySQLユーザIDを入力し(crm01_crmuser)
3,パスワードを設定し(crmpass2021)
4,[確認画面へ進む]を押下
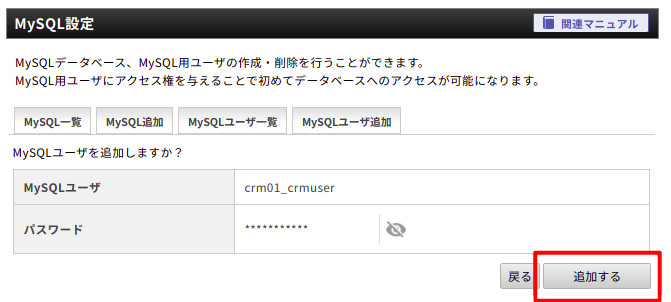
確認して[追加する]を押下
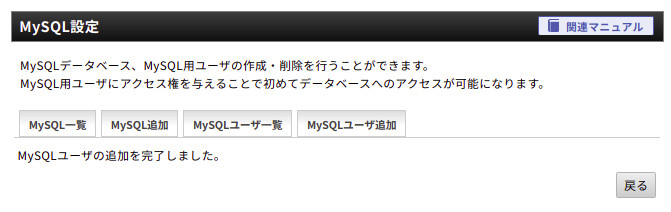
追加された事を確認します
作成したデータベースcrm01_crmdb
に、ユーザ
crm01_crmuser
を、追加します。
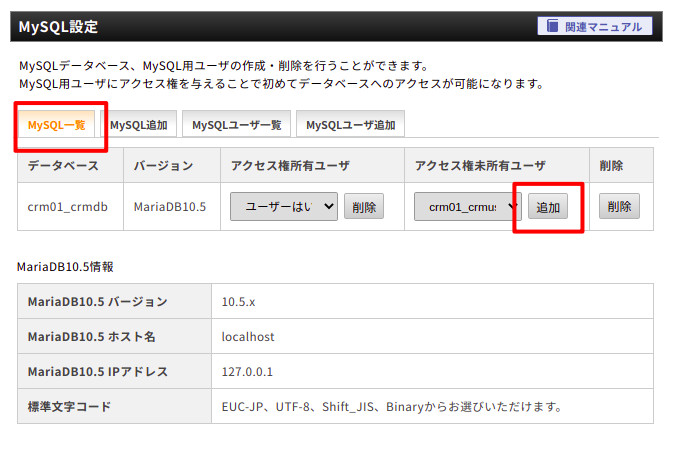
データベースの設定は以上
■ frevocrm7.3本体をアップロード
frevocrm7.3本体を、サーバーにアップロードする
ftp(FileZilla)でアップする
https://f-revocrm.jp/product-category/crm
から、frevocrm7.3.zipを入手
ローカルにダウンロードする
(f-revocrmのサイトで会員登録すると無料で入手できます。)
X-serverの新規アカウントを
申し込んだ時に届くメールから
FTP情報を見る
メール題名
【エックスサーバー】■重要■サーバーアカウント設定完了のお知らせ[試用期間] (crm01.xsrv.jp)
FTP情報
——————————————————–
FTPホスト名(FTPサーバー名) : sv12370.xserver.jp
FTPユーザー名(FTPアカウント名): crm01
FTPパスワード : xxxxxxx
——————————————————–
FileZillaで接続できるようにする
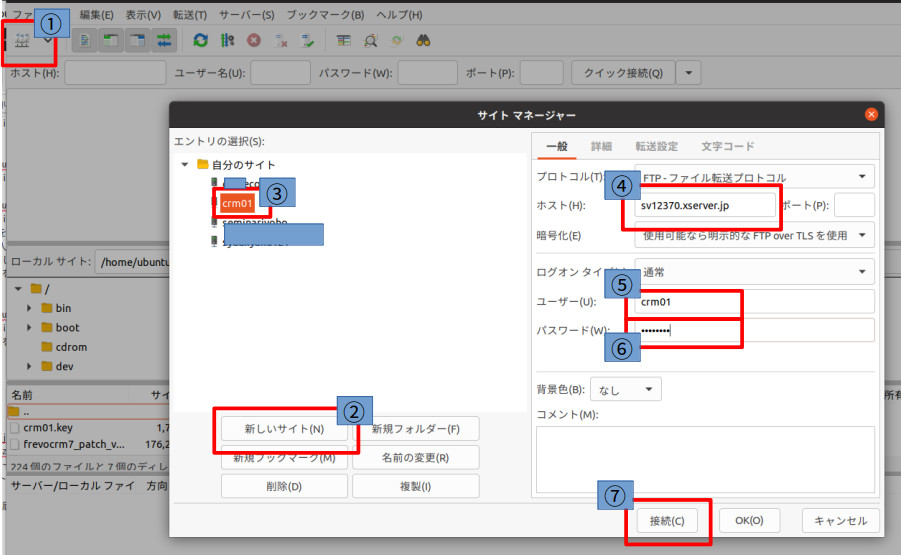
1,サイトを選択
2,新しいサイト
3,サイト名を入力
4,ホスト名を入力 sv12370.xserver.jp
5,ユーザ名を入力 crm01
6,パスワードを入力 xxxxxxx
7,[接続]を押下
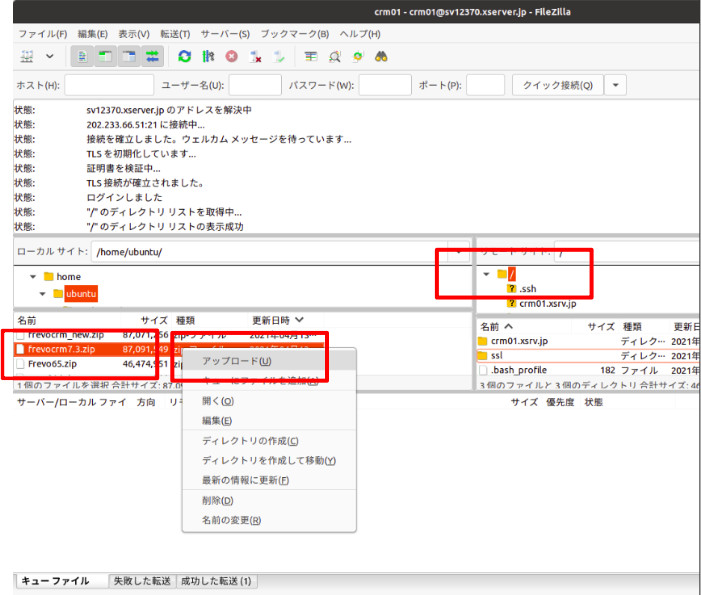
frevocrm7.3.zip
を、選択し、サーバーとトップにアップロードする
SSHで内容を確認する
$ ssh crm01@crm01.xsrv.jp -i crm01.key -p 10022
Enter passphrase for key 'crm01.key':
Last login: Fri Apr 16 13:18:45 2021 from 221x254x43x154.ap221.ftth.ucom.ne.jp
[crm01@sv12370 ~]$ ls
frevocrm7.3.zip  crm01.xsrv.jp  ssl
[crm01@sv12370 ~]$
frevocrm7.3.zipが転送されている
■ frevocrmを展開設置する
パスをたどり、public_htmlのパスを見る
[crm01@sv12370 ~]$ ls
crm01.xsrv.jp  frevocrm7.3.zip  ssl
[crm01@sv12370 ~]$ ls crm01.xsrv.jp
autoreply  htpasswd  log  mail  public_html  script  xserver_php
[crm01@sv12370 ~]$ ls crm01.xsrv.jp/public_html
default_page.png  frevocrm  index.html
[crm01@sv12370 ~]$
crm01.xsrv.jp/public_html
なので、ここに展開する
unzip -od crm01.xsrv.jp/public_html frevocrm7.3.zip
frevocrm
を、crmの名前に変更する
mv crm01.xsrv.jp/public_html/frevocrm crm01.xsrv.jp/public_html/crm
■ サーバーからのインストール
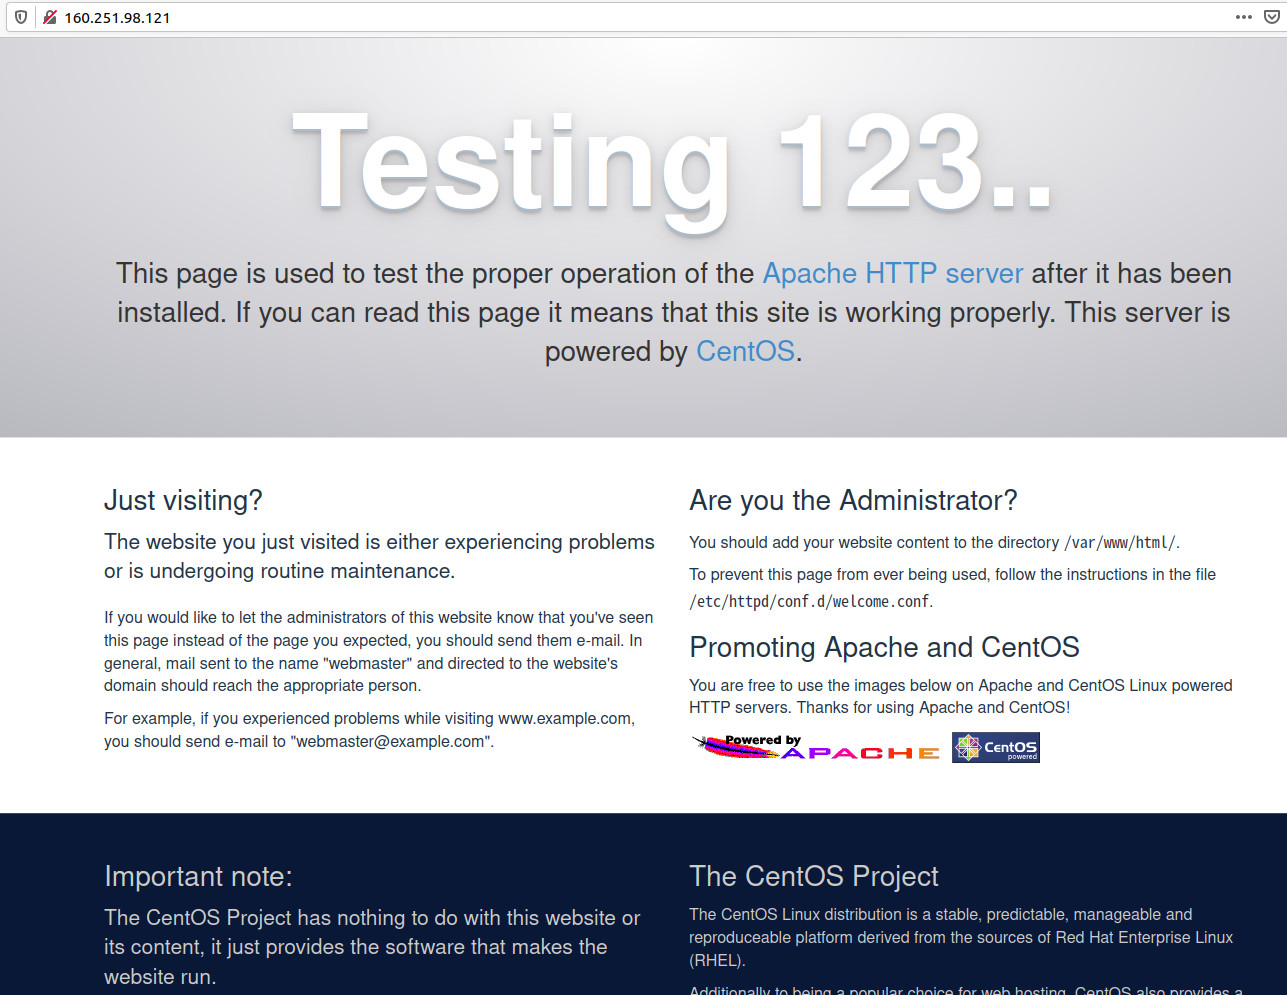
Webからcrmへアクセスします
サーバID
crm01
の場合
http://crm01.xsrv.jp/crm
となります。
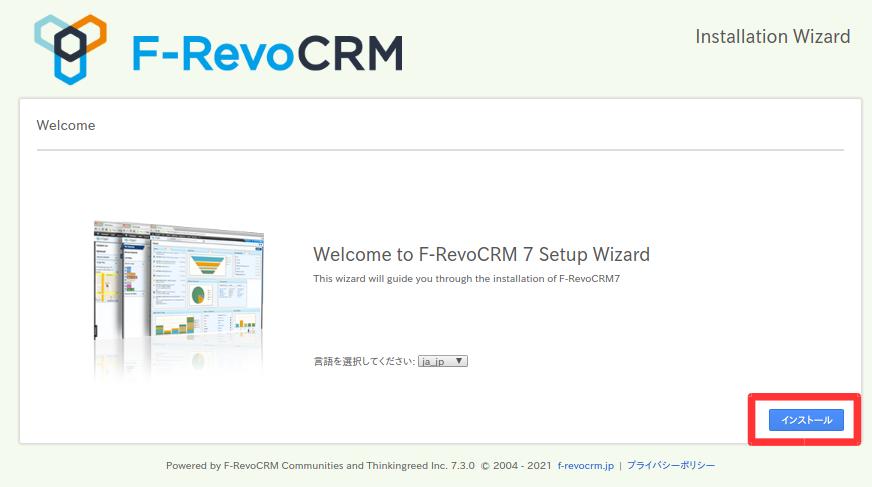
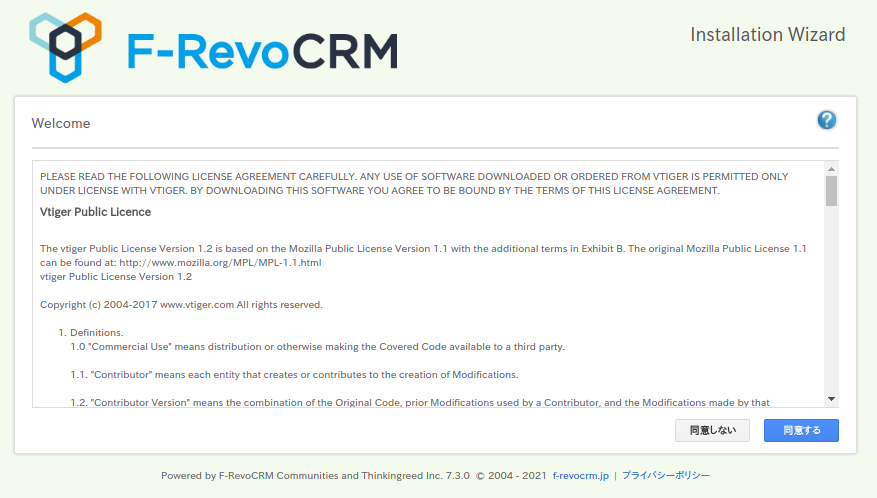
Installation Wizard
が立ち上がります。
エラーメッセージがでますが、
警告なので、そのまま進みます。
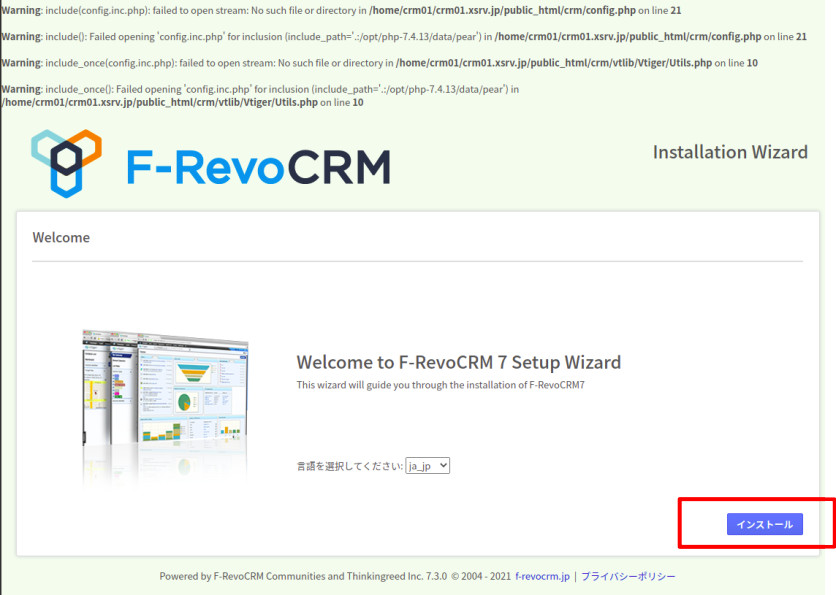
[インストール]を押下
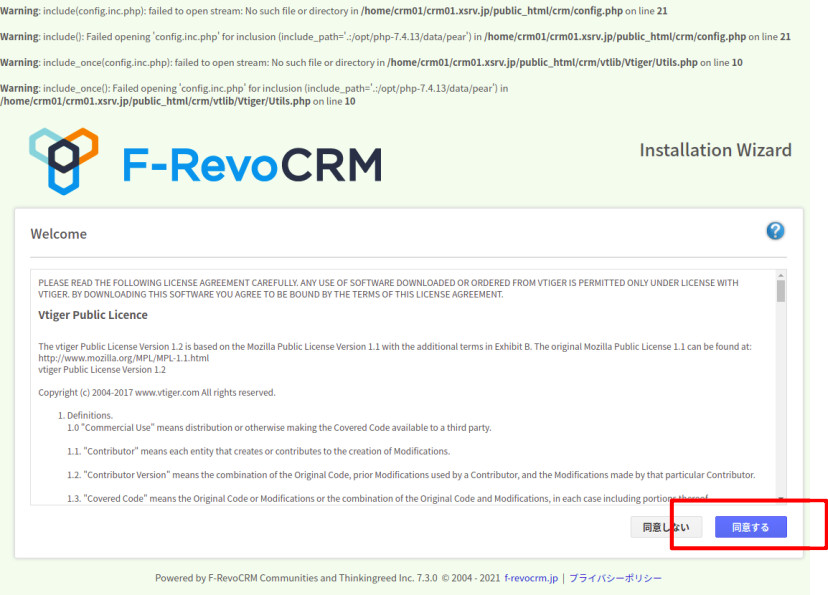
ライセンスの確認なので内容を確認して
[同意する]を押下
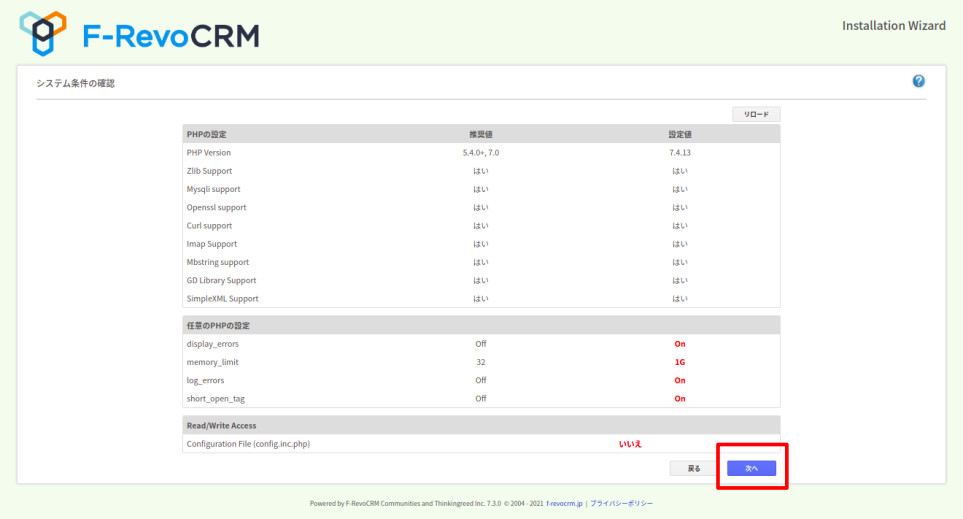
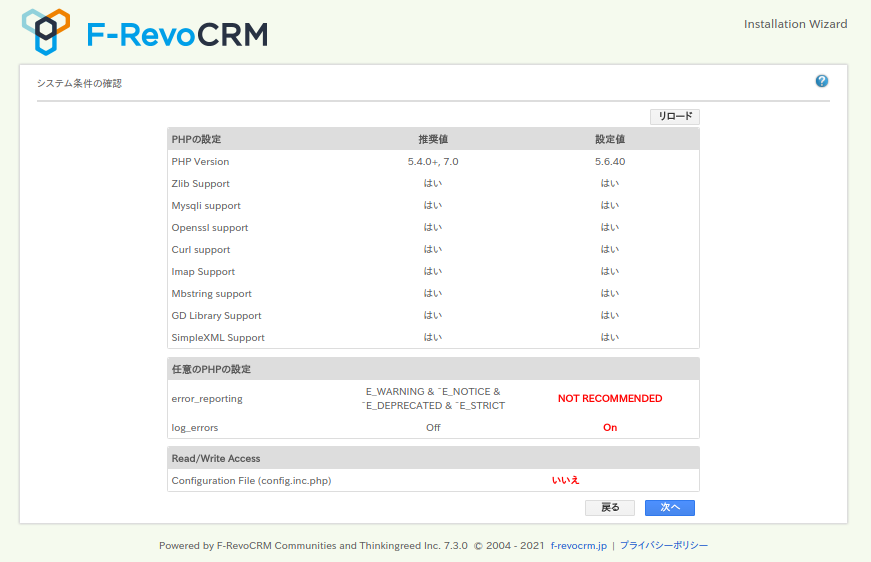
確認画面でPHPが推奨から外れていますが、このまま進んでみる
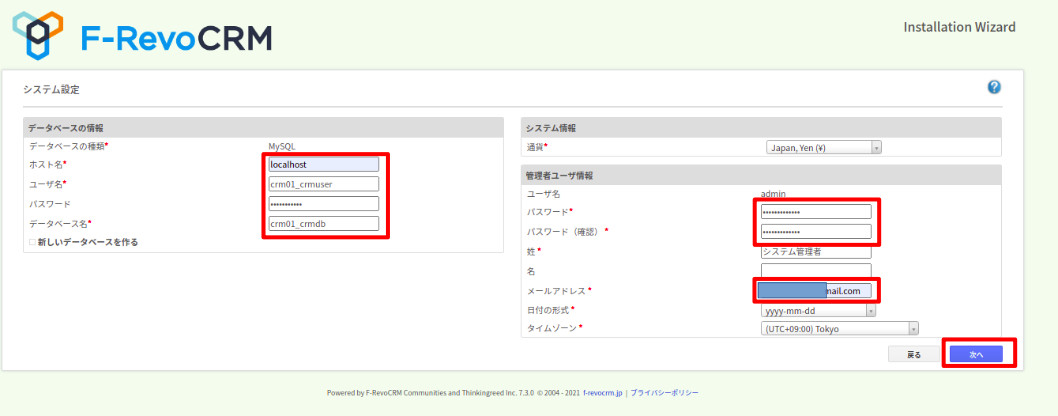
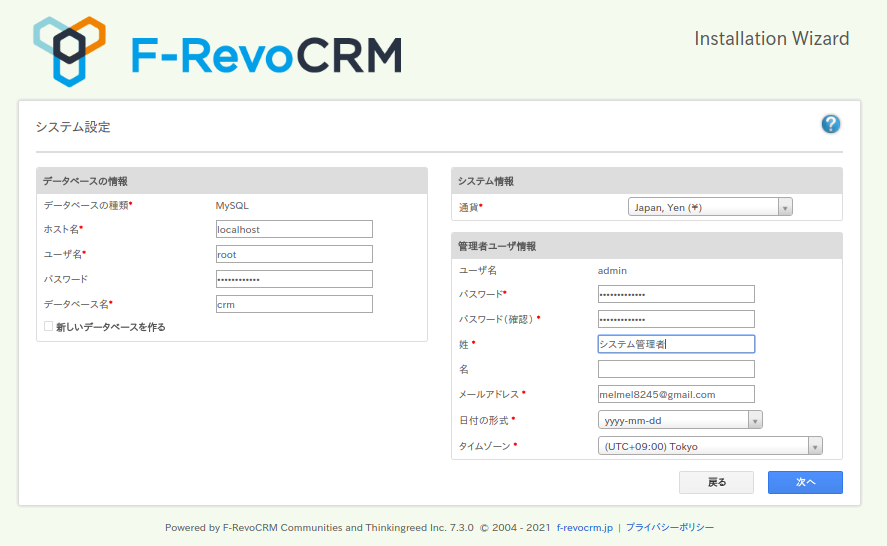
ホスト名:localhost
ユーザー名:crm01_crmuser
パスワード:crmpass2021
データベース名:crm01_crmdb
管理者ユーザ情報
パスワード:
メールアドレス:
を入力
[次へ]を押下
管理者ユーザ情報のパスワード
は、F-RevoCRMに作成するアカウントの
パスワードです。
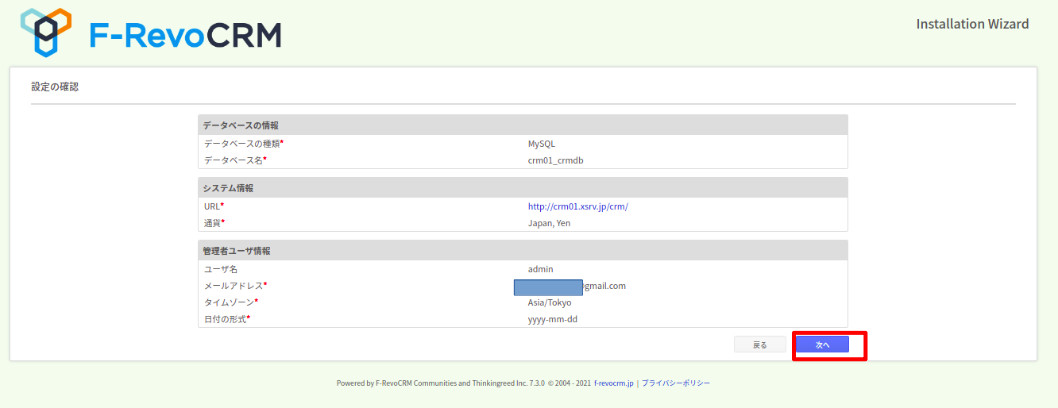
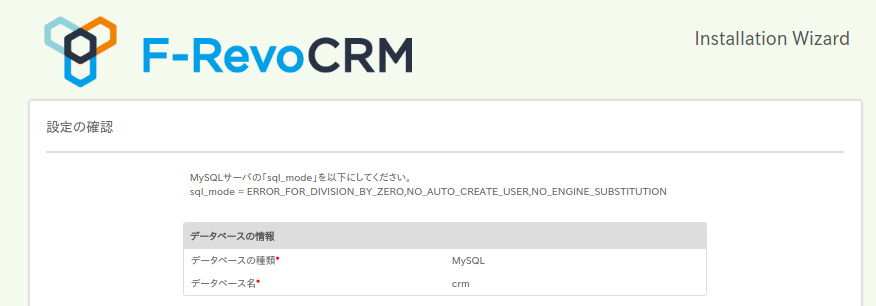
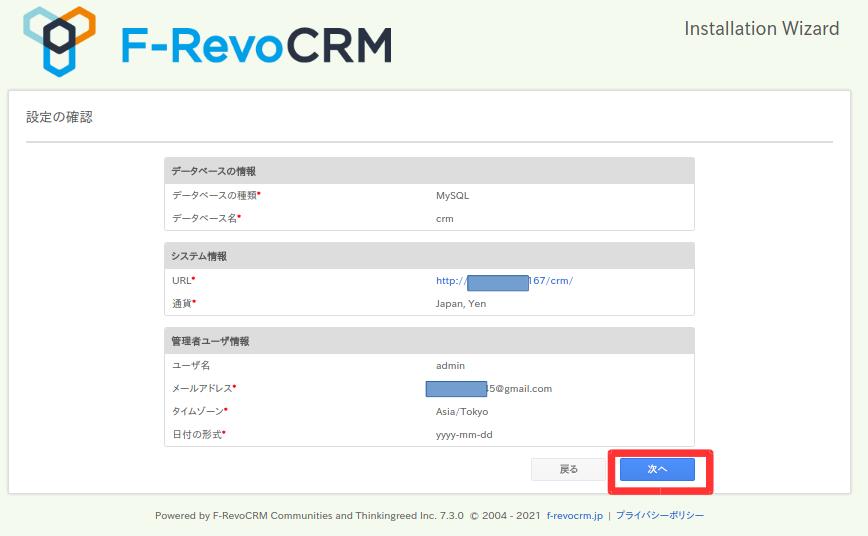
確認画面が出るので
[次へ]を押下
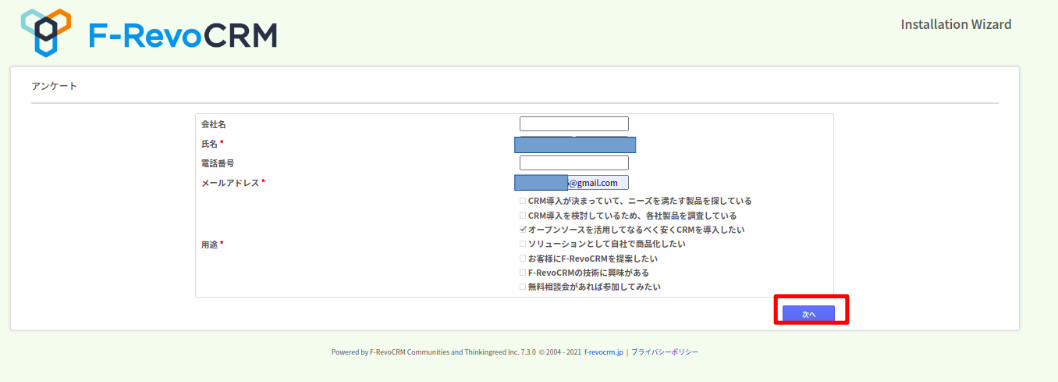
アンケートに答えて
[次へ]を押下
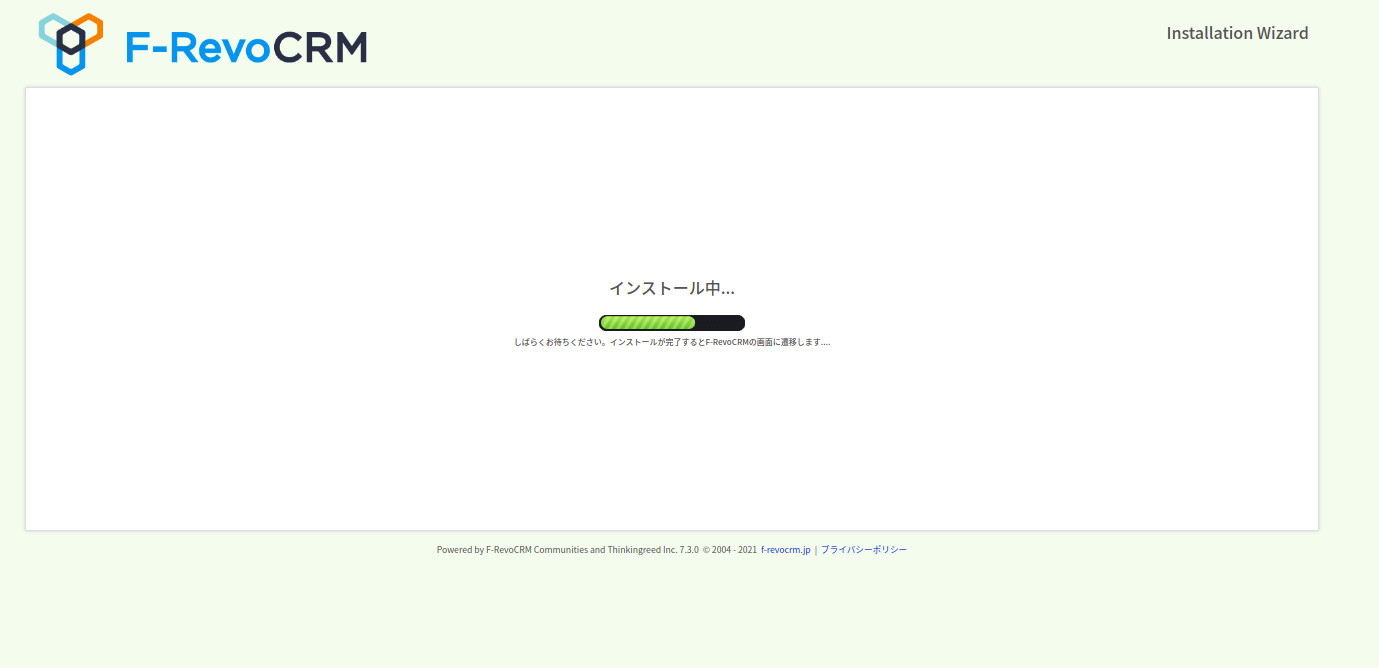
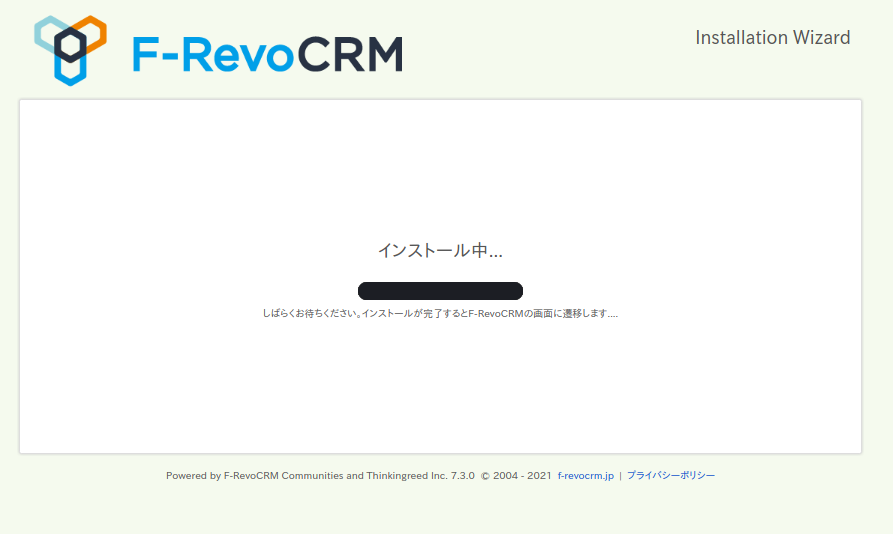
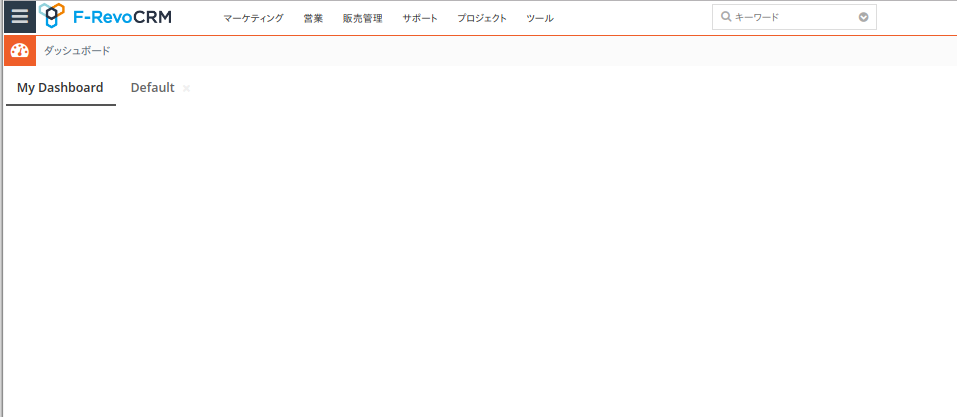
インストールが始まり
完了すると開始画面になります。
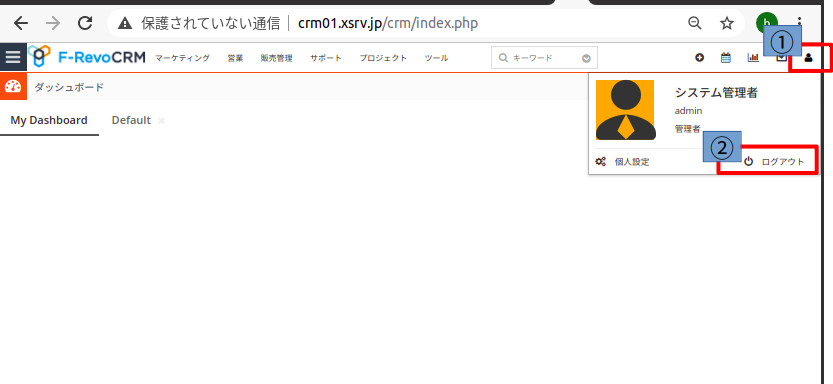
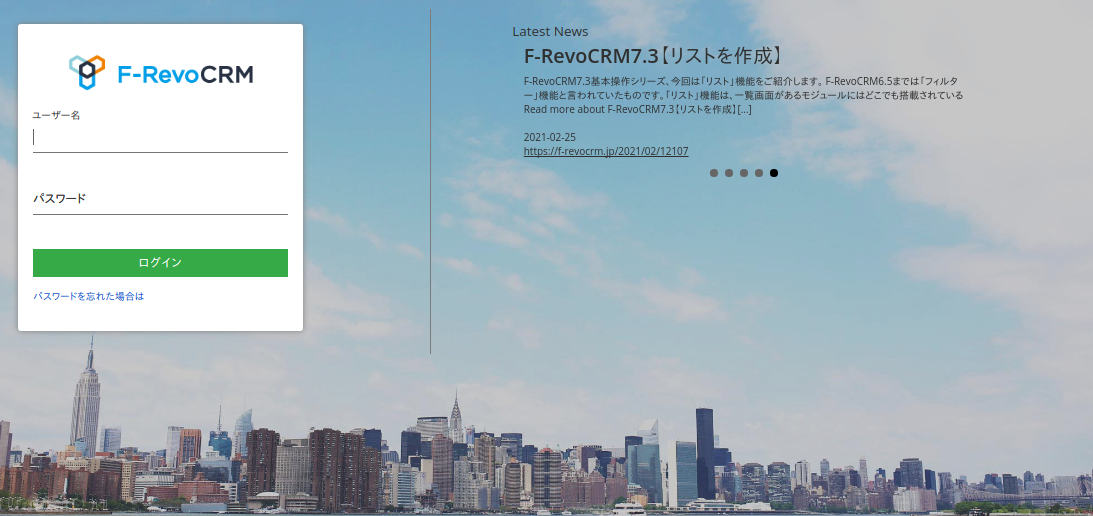
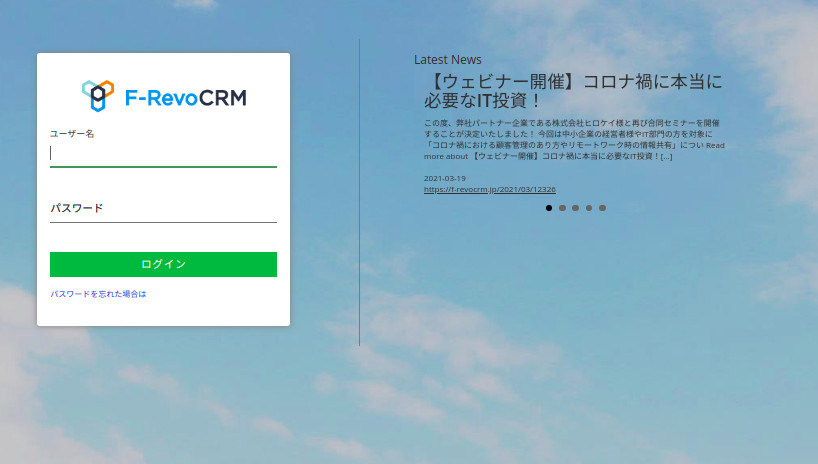
■ ログイン画面を表示
右上ボタンからログアウトすると
ログイン画面になります
以上となります
現在のX-server(X10)では
PHP7.4.13
Xアクセラレータ Ver.2
となっておりますので
動作速度は高速が見込まれると思われます。
この環境でF-RevoCRM7.3の設置ができたので
使い勝手はいいかと思います。
細かい、動作確認は行っていませんので
その後、報告します。